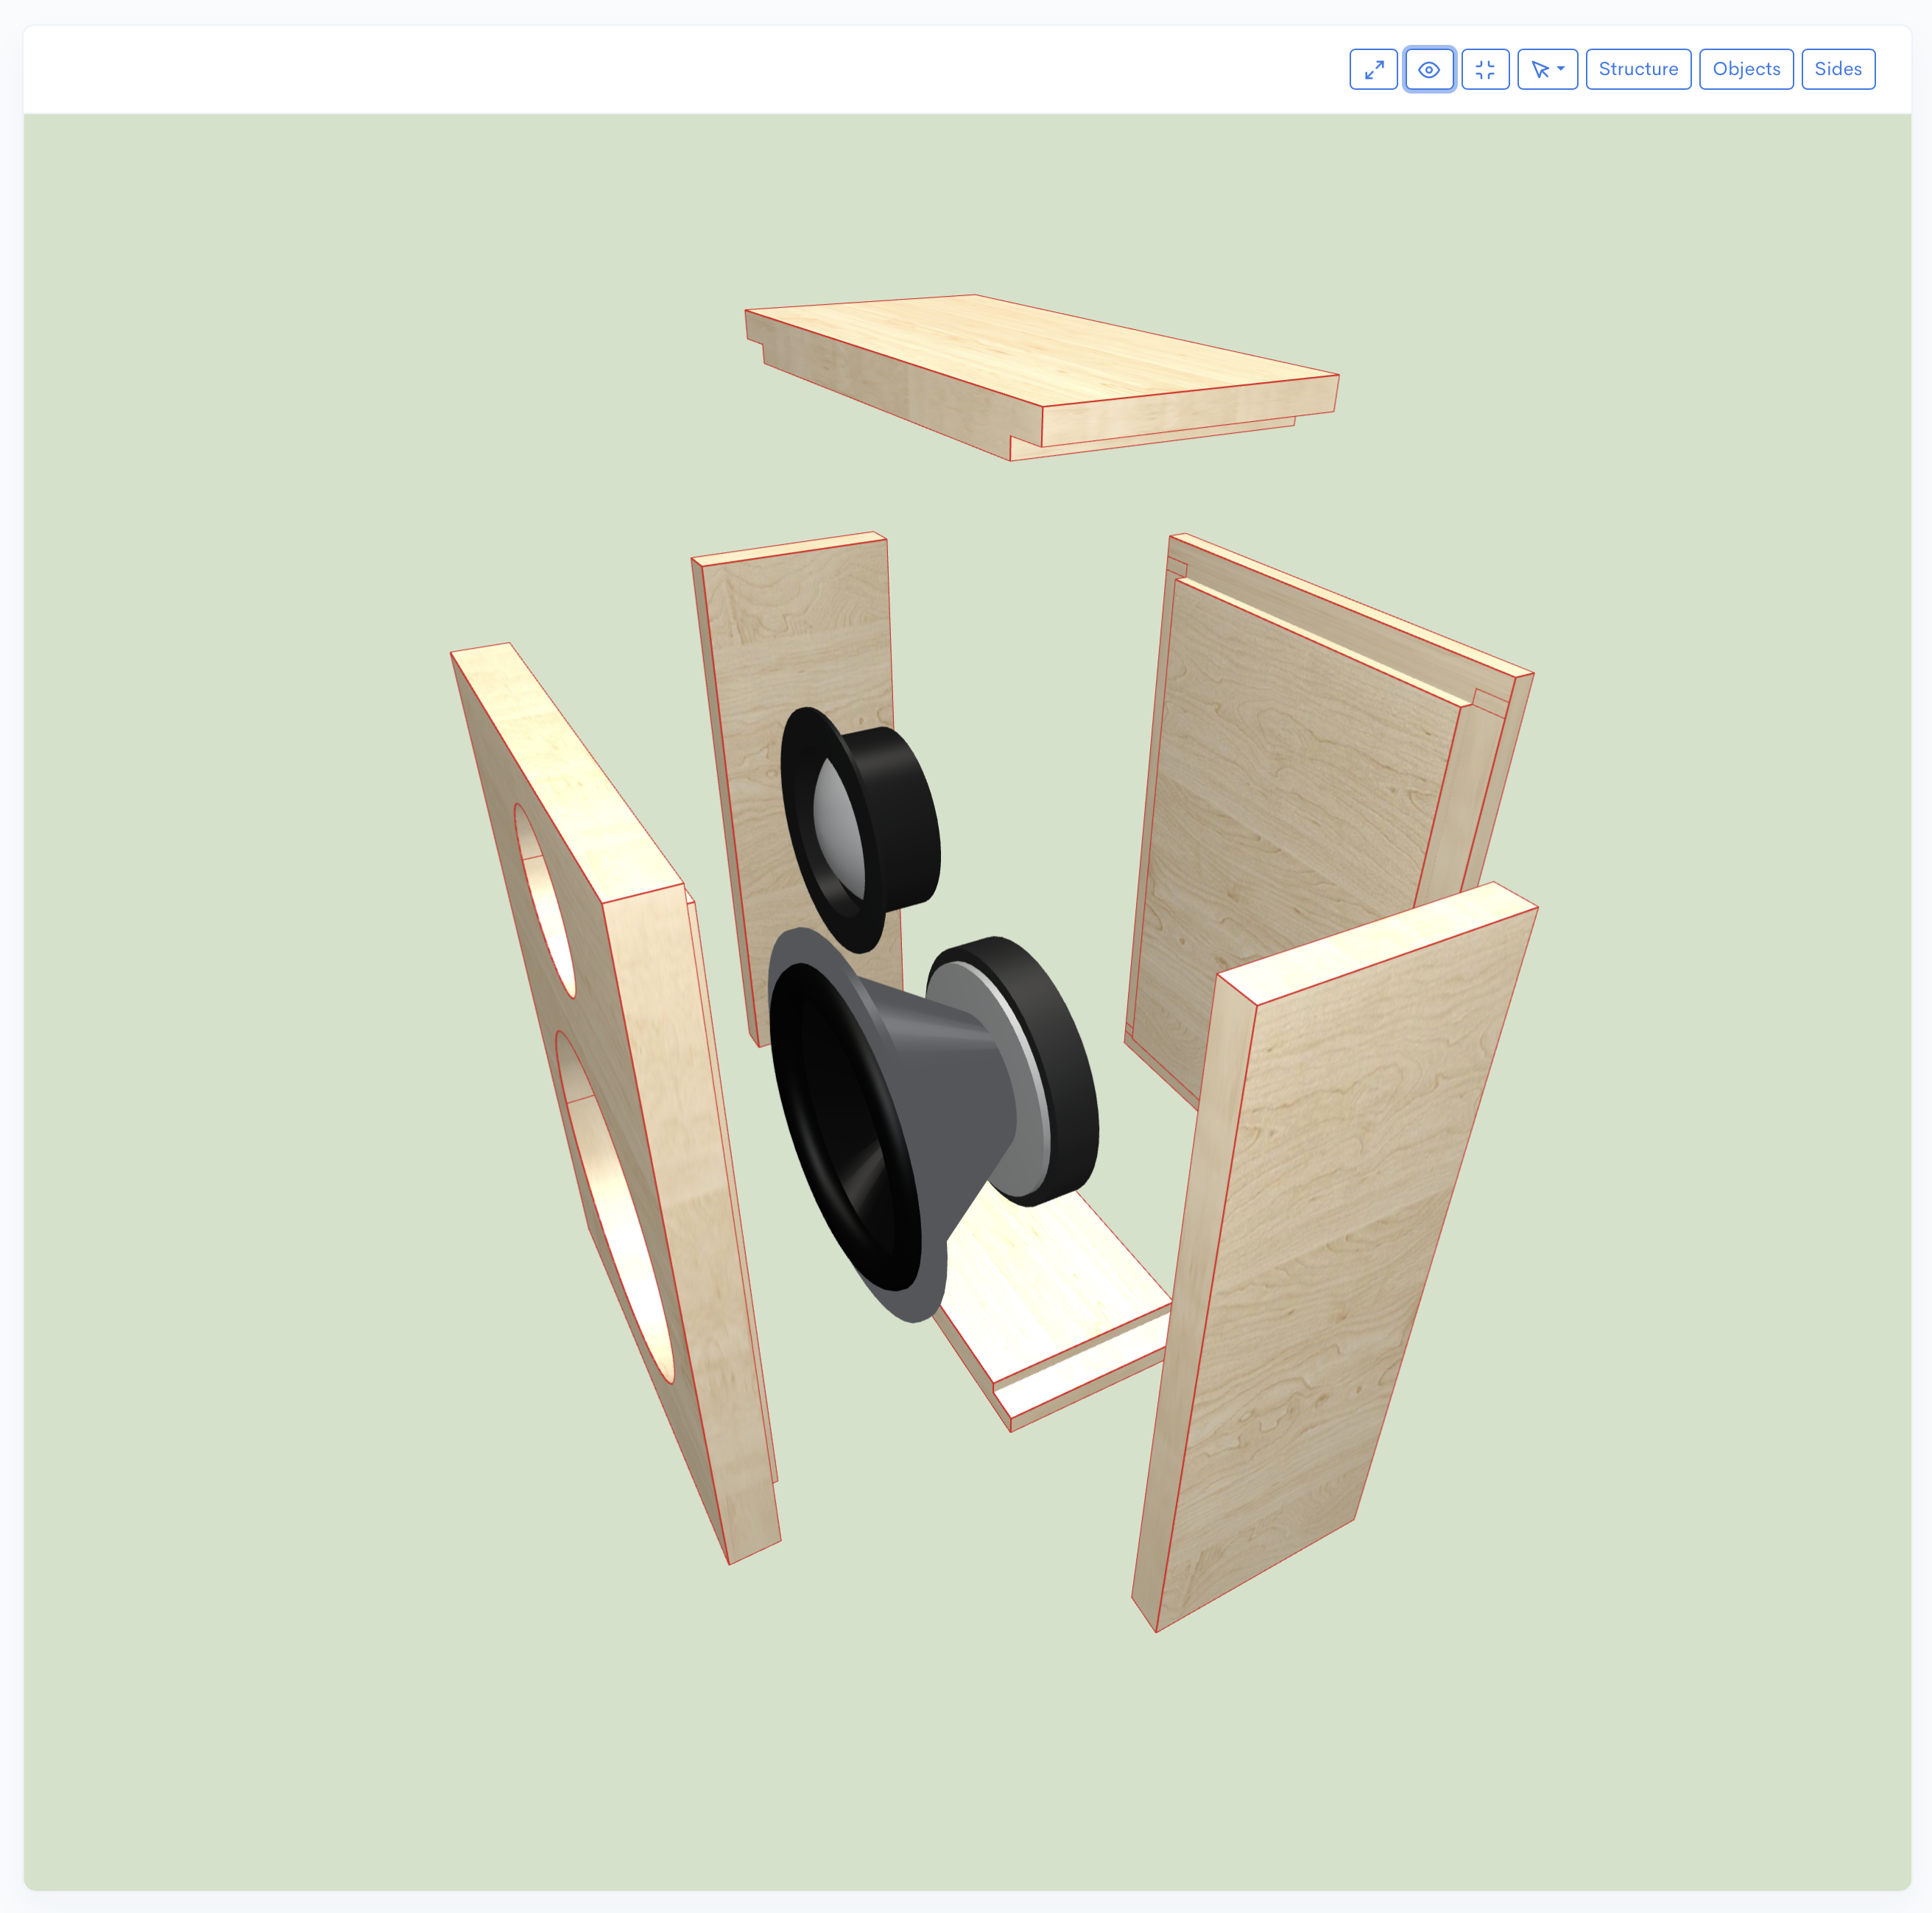
This article explores various types of joinery and cut features that are essential for precisely aligning panels and maximizing the glue surface area, resulting in a stronger, more acoustically sound speaker enclosure.

Explore the essential woodworking joints - dados and rabbets - critical for building rigid, non-resonant speaker enclosures for home audio, subwoofers, and car audio. Learn how these techniques maximize glue surface area and ensure precise panel alignment for superior acoustic performance and structural integrity.
This article explores various types of joinery and cut features that are essential for precisely aligning panels and maximizing the glue surface area, resulting in a stronger, more acoustically sound speaker enclosure.
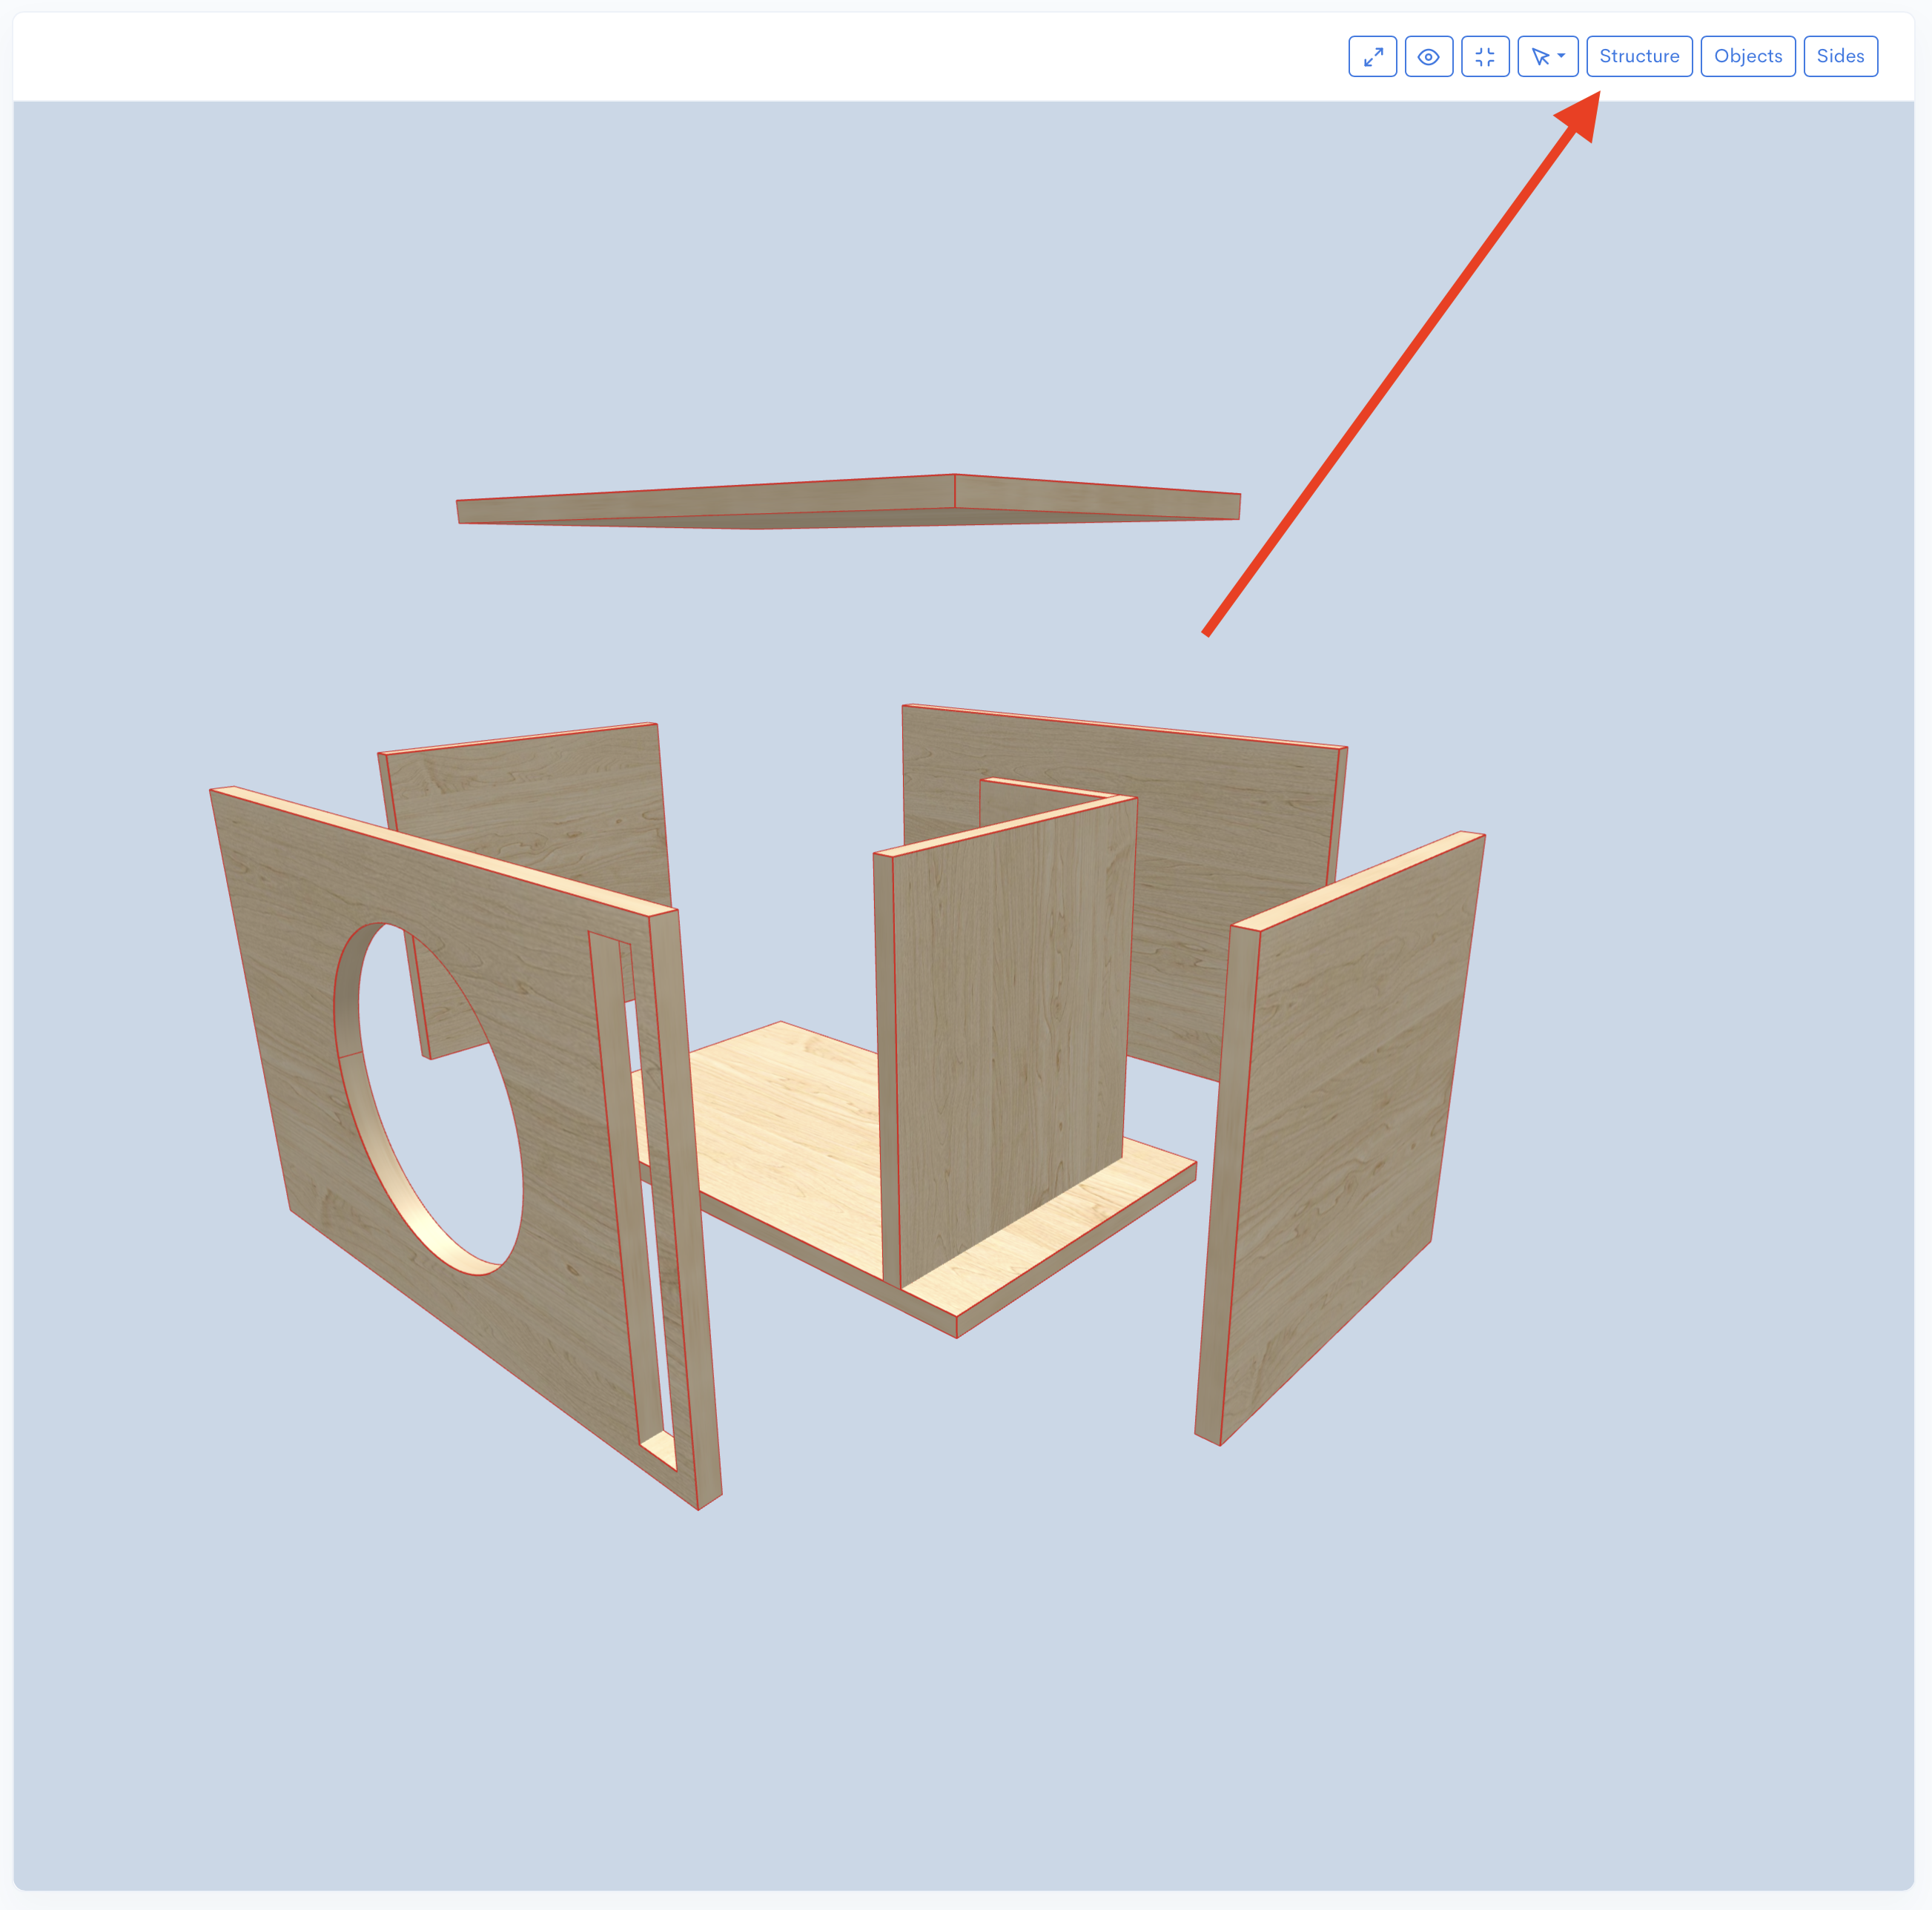
Proper joinery is critical for building a rigid, non-resonant speaker box. Two common woodworking joints used for structural integrity are dados and rabbets. A dado is a groove cut across the grain of a board, designed to receive the end or edge of another board (like a shelf). In speaker building, dados ensure a tight, precisely aligned, and structurally superior connection between panels, especially for high-vibration applications like subwoofers. A rabbet is a groove cut along the edge or end of a board to receive another board, often used at corners where a side panel joins the front baffle or another side. Both joints increase the surface area for glue, making the enclosure airtight and less likely to vibrate.
In Speaker Box Lite, the terms "Dados" and "Rabbets" are combined, with both being referred to as "Dados." This feature can be applied to the entire speaker box or selectively to individual edges or objects. Discover the simple way to effortlessly add dados to your speaker box. This article shows you how to use Speaker Box Lite to accomplish this with just a few clicks, eliminating complex calculations, so let's examine the process for applying dados to your box construction.
The Dados feature can be enabled and configured on the "Box properties" screen by activating the "Enable dados" switcher. Enabling this feature applies dados to all edge connections of the box and reveals additional configuration fields.
The most critical field is "Dados depth" Dados will not be applied to the edges if this field is left unset, even if the feature is enabled.
Other adjustable fields include:
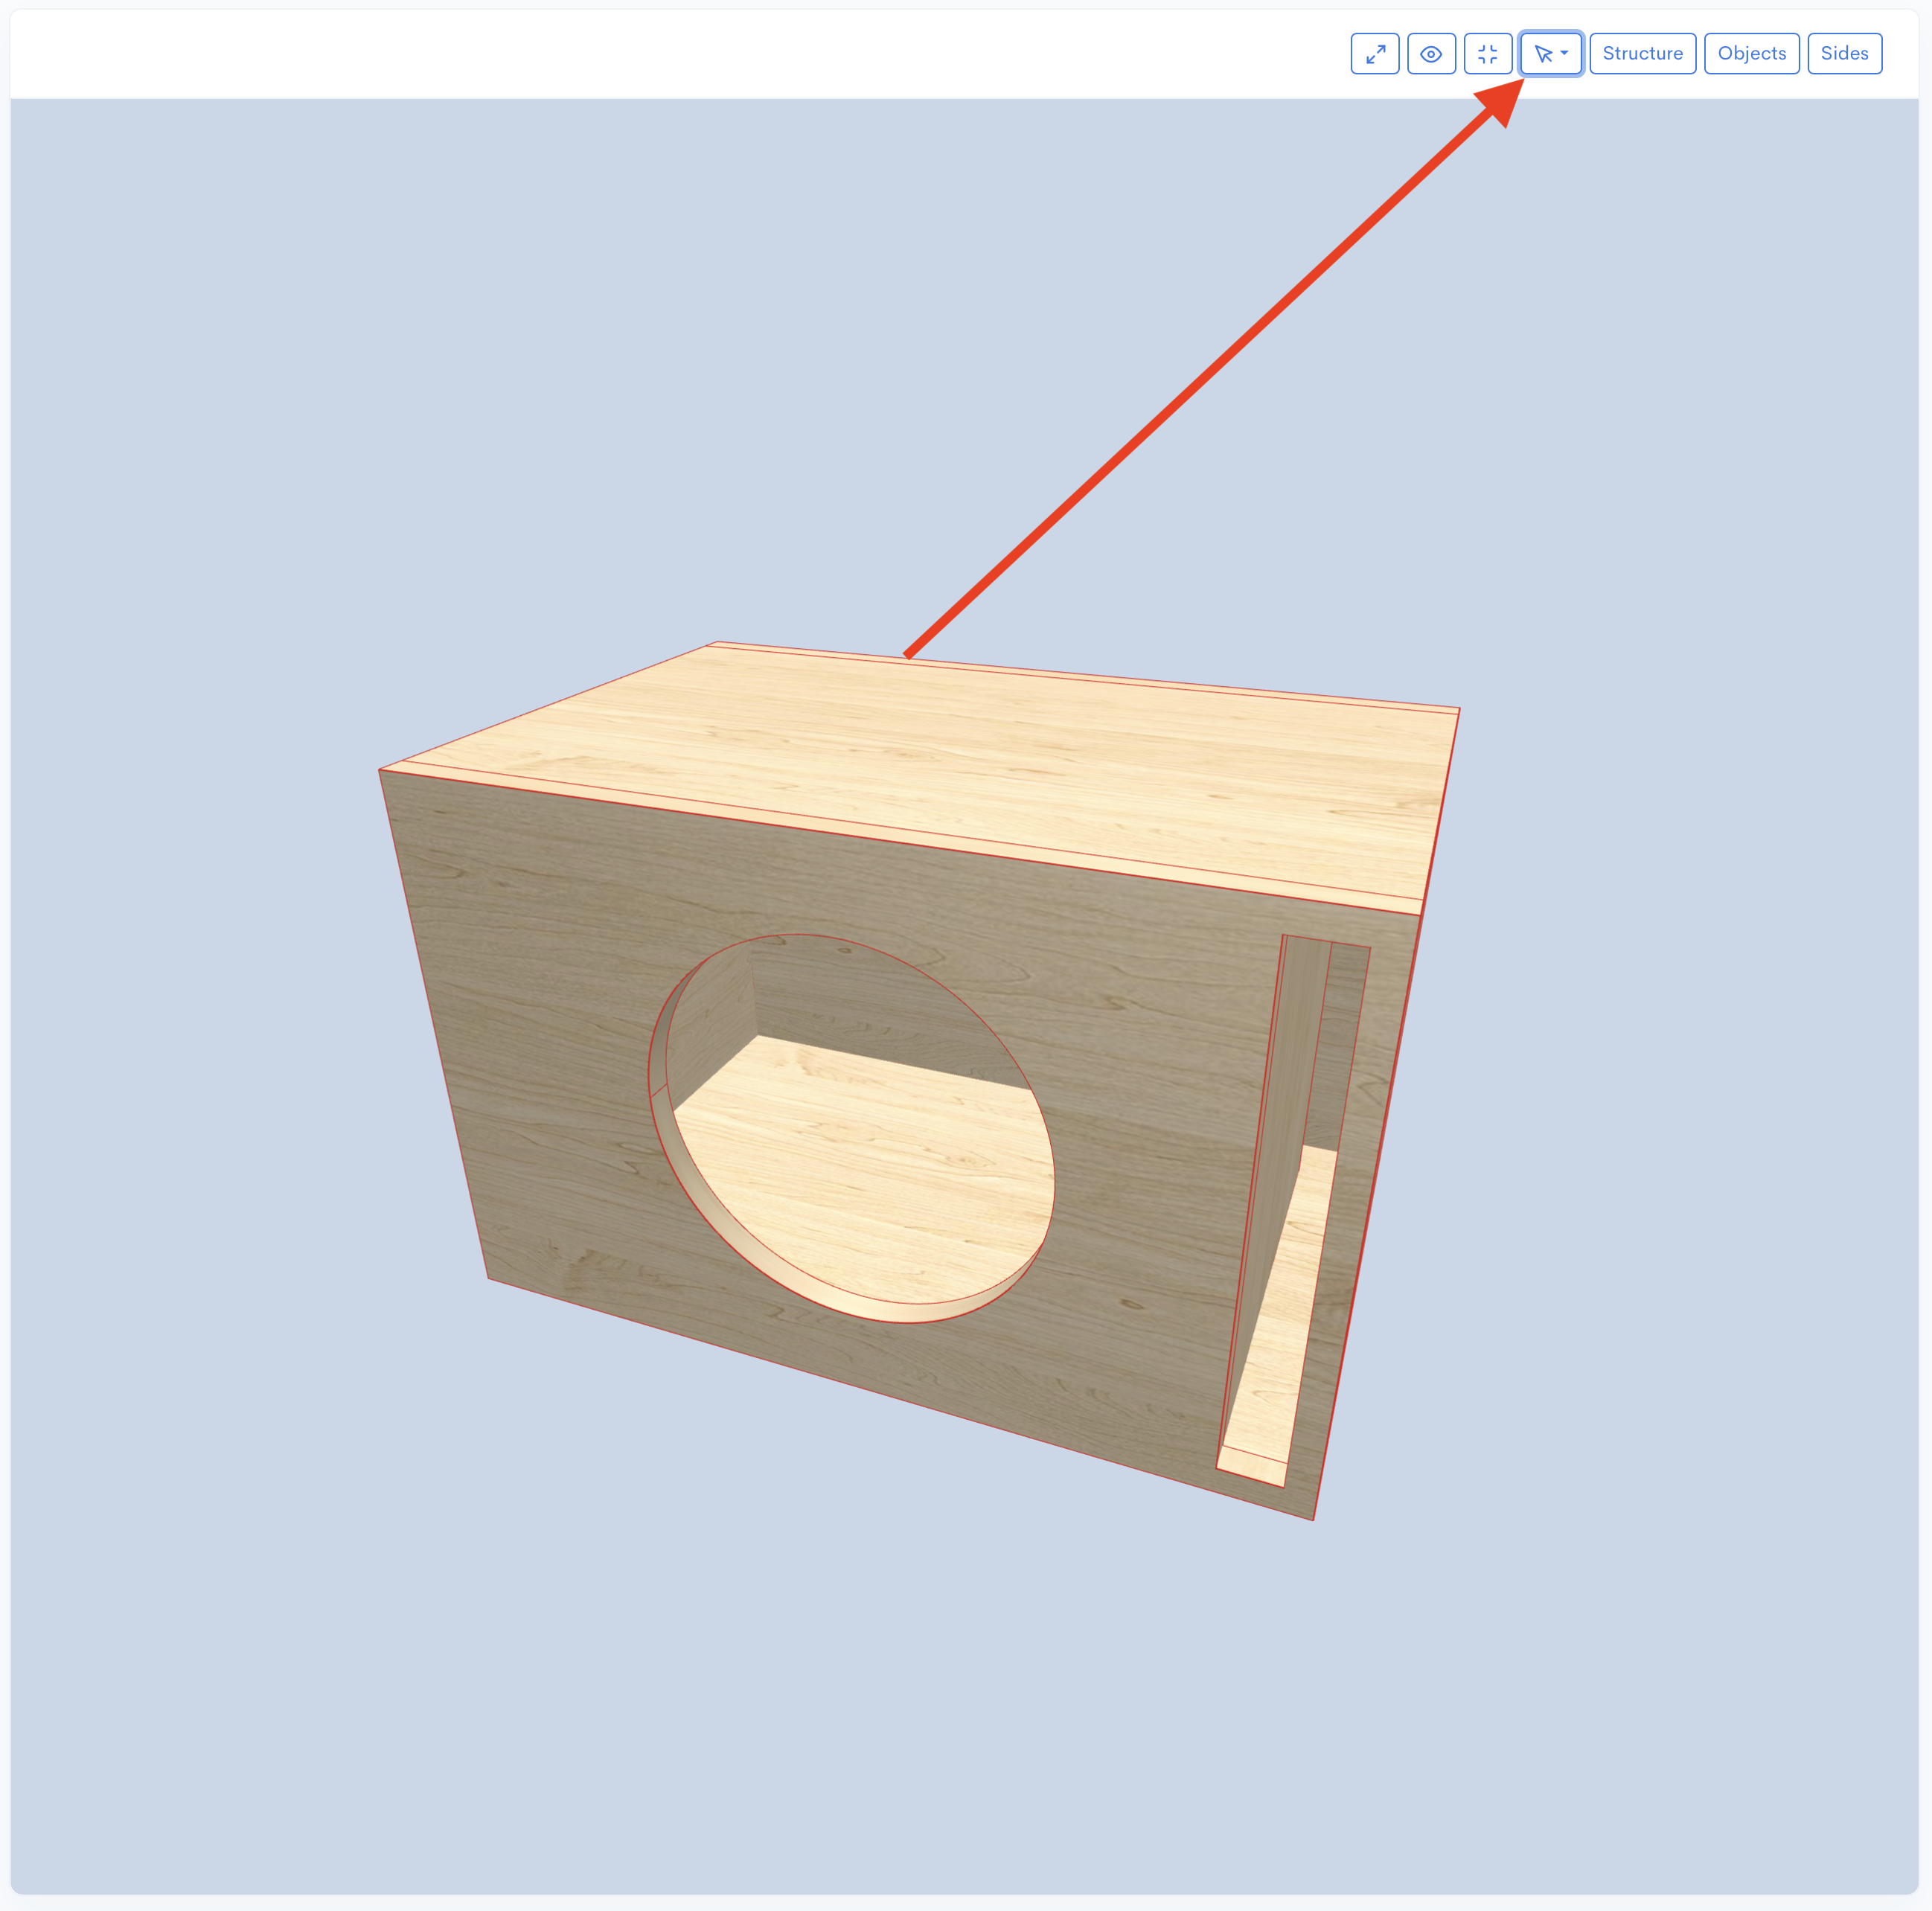
As demonstrated, Speaker Box Lite provides comprehensive options for configuring dados in your box design.
Dados can be applied to individual edges, just as they can be applied to the entire box.
To apply a dado to a specific edge, first enable the Box`s edges option. Then, open the Box edge properties screen for the desired edge. On this screen, enable the Dados option and set the depth in the Dados depth field.
If the box's general dados option is already enabled, you can still customize the dado for a specific edge on this screen. The setting will be called Custom dados. Enable Custom dados to specify a different Dados depth for this edge. You can set the Dados depth to zero to disable the dado on this particular edge, which overrides the box's general setting.
You have the flexibility to quickly apply dados to all edges of the box and then selectively disable them for specific edges, or, alternatively, only enable dados for one or a select few edges. Choose the method that is most convenient and fastest for your workflow.
Also you can apply dados to objects that have sides. You can do it to all objects of the box using option above or to particular objects. To do it, open the object's properties screen, if dados are available for this type of object, you will see the Enable dados option, turn it on and set depth to the Dados depth field.
Like for the edges if you enable the general Dados for objects option instead of Enable dados you will see Custom dados option. You can turn on this option to specify the depth value different from general or set it to zero to disable dados for this object.
The "Stretch direction" option for braces determines how a brace will stretch when used for dados. This option offers three selections: All, Vertical, and Horizontal. You must select one of these variants to set the desired stretch direction.
This article explained the nature of dados and provided instruction on their application within Speaker Box Lite. In conclusion, the dado joint stands as a specialized, indispensable technique in high-quality woodworking, particularly for custom enclosures. By maximizing glue surface area and offering intrinsic mechanical resistance, dados dramatically enhance structural integrity, ensuring the box can withstand intense acoustic pressures without panel flex. Beyond strength, their self-jigging nature guarantees precise panel alignment, which is critical for both flawless aesthetics and optimal acoustic performance. Ultimately, the dado simplifies assembly while guaranteeing a professional-grade, highly robust finished product, making it a hallmark of superior enclosure construction.
