This article provides a detailed guide on the process of successfully integrating a tweeter speaker into your existing speaker box enclosure using the Speaker Box Lite application.

A step-by-step guide on successfully mounting a tweeter speaker into an existing speaker box enclosure using the Speaker Box Lite application to enhance high-frequency audio performance.
This article provides a detailed guide on the process of successfully integrating a tweeter speaker into your existing speaker box enclosure using the Speaker Box Lite application.
A tweeter is a specific type of loudspeaker designed to produce high-frequency sounds, typically from about 2,000 Hertz (Hz) up to 20,000 Hz, which is the upper limit of human hearing. They are essential components in multi-way speaker systems (like two-way or three-way speakers) where they handle the treble range. Common designs include dome tweeters (often made of silk or metal) and cone tweeters. Their small size and light diaphragm allow them to vibrate rapidly and accurately reproduce the detailed, high-pitched elements of audio, such as cymbals, string harmonics, and vocal sibilance.
Based on the preceding information, you will eventually decide to integrate a tweeter into your speaker enclosure. Here's a look at the process for doing this in Speaker Box Lite.
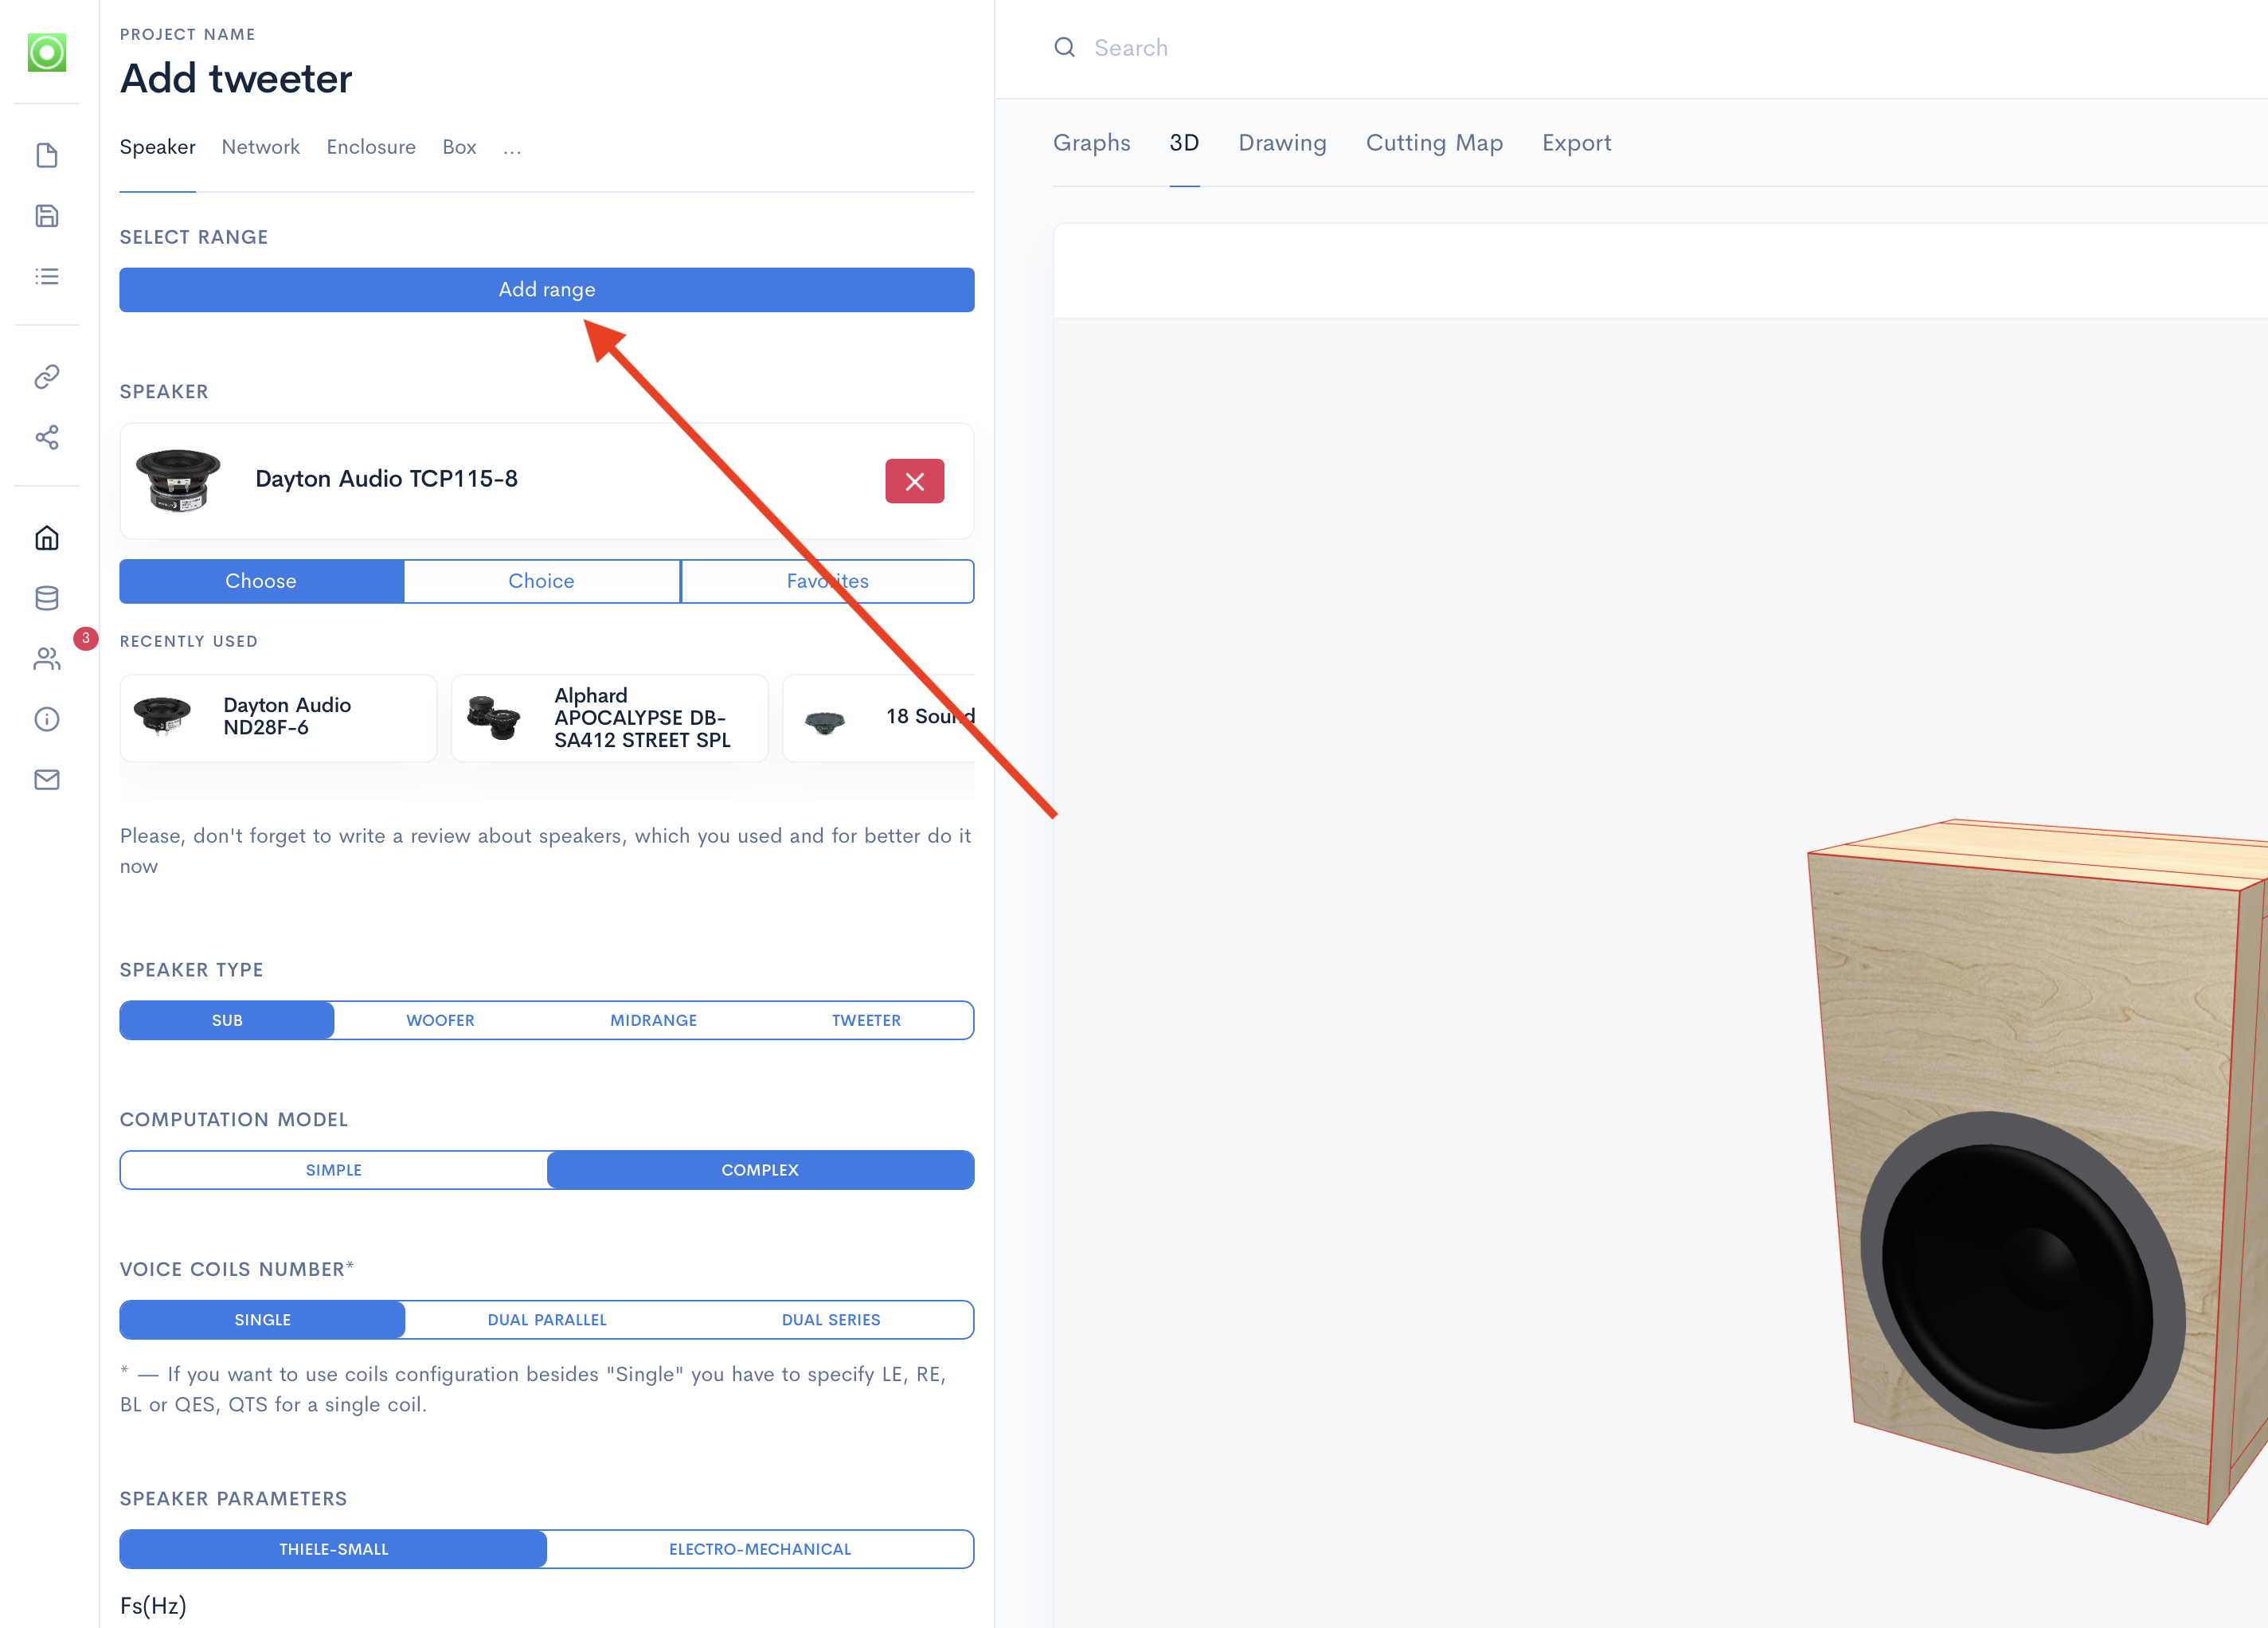
Start by adding a new range to your project. Click the "Add range" button, enter the desired name, and then click "Create." Next, change the speaker type for this new range to "Tweeter." The tweeter is now part of your project, and you can proceed to input its parameters to enable calculation of its behavior (though parameter input is beyond the scope of this article).
To ensure the speaker is visible in the rendering, you must define its dimensions. Access the Speaker properties screen and enter data such as the overall diameter and cutout diameter. This information should be sourced from the technical specifications or measured directly.
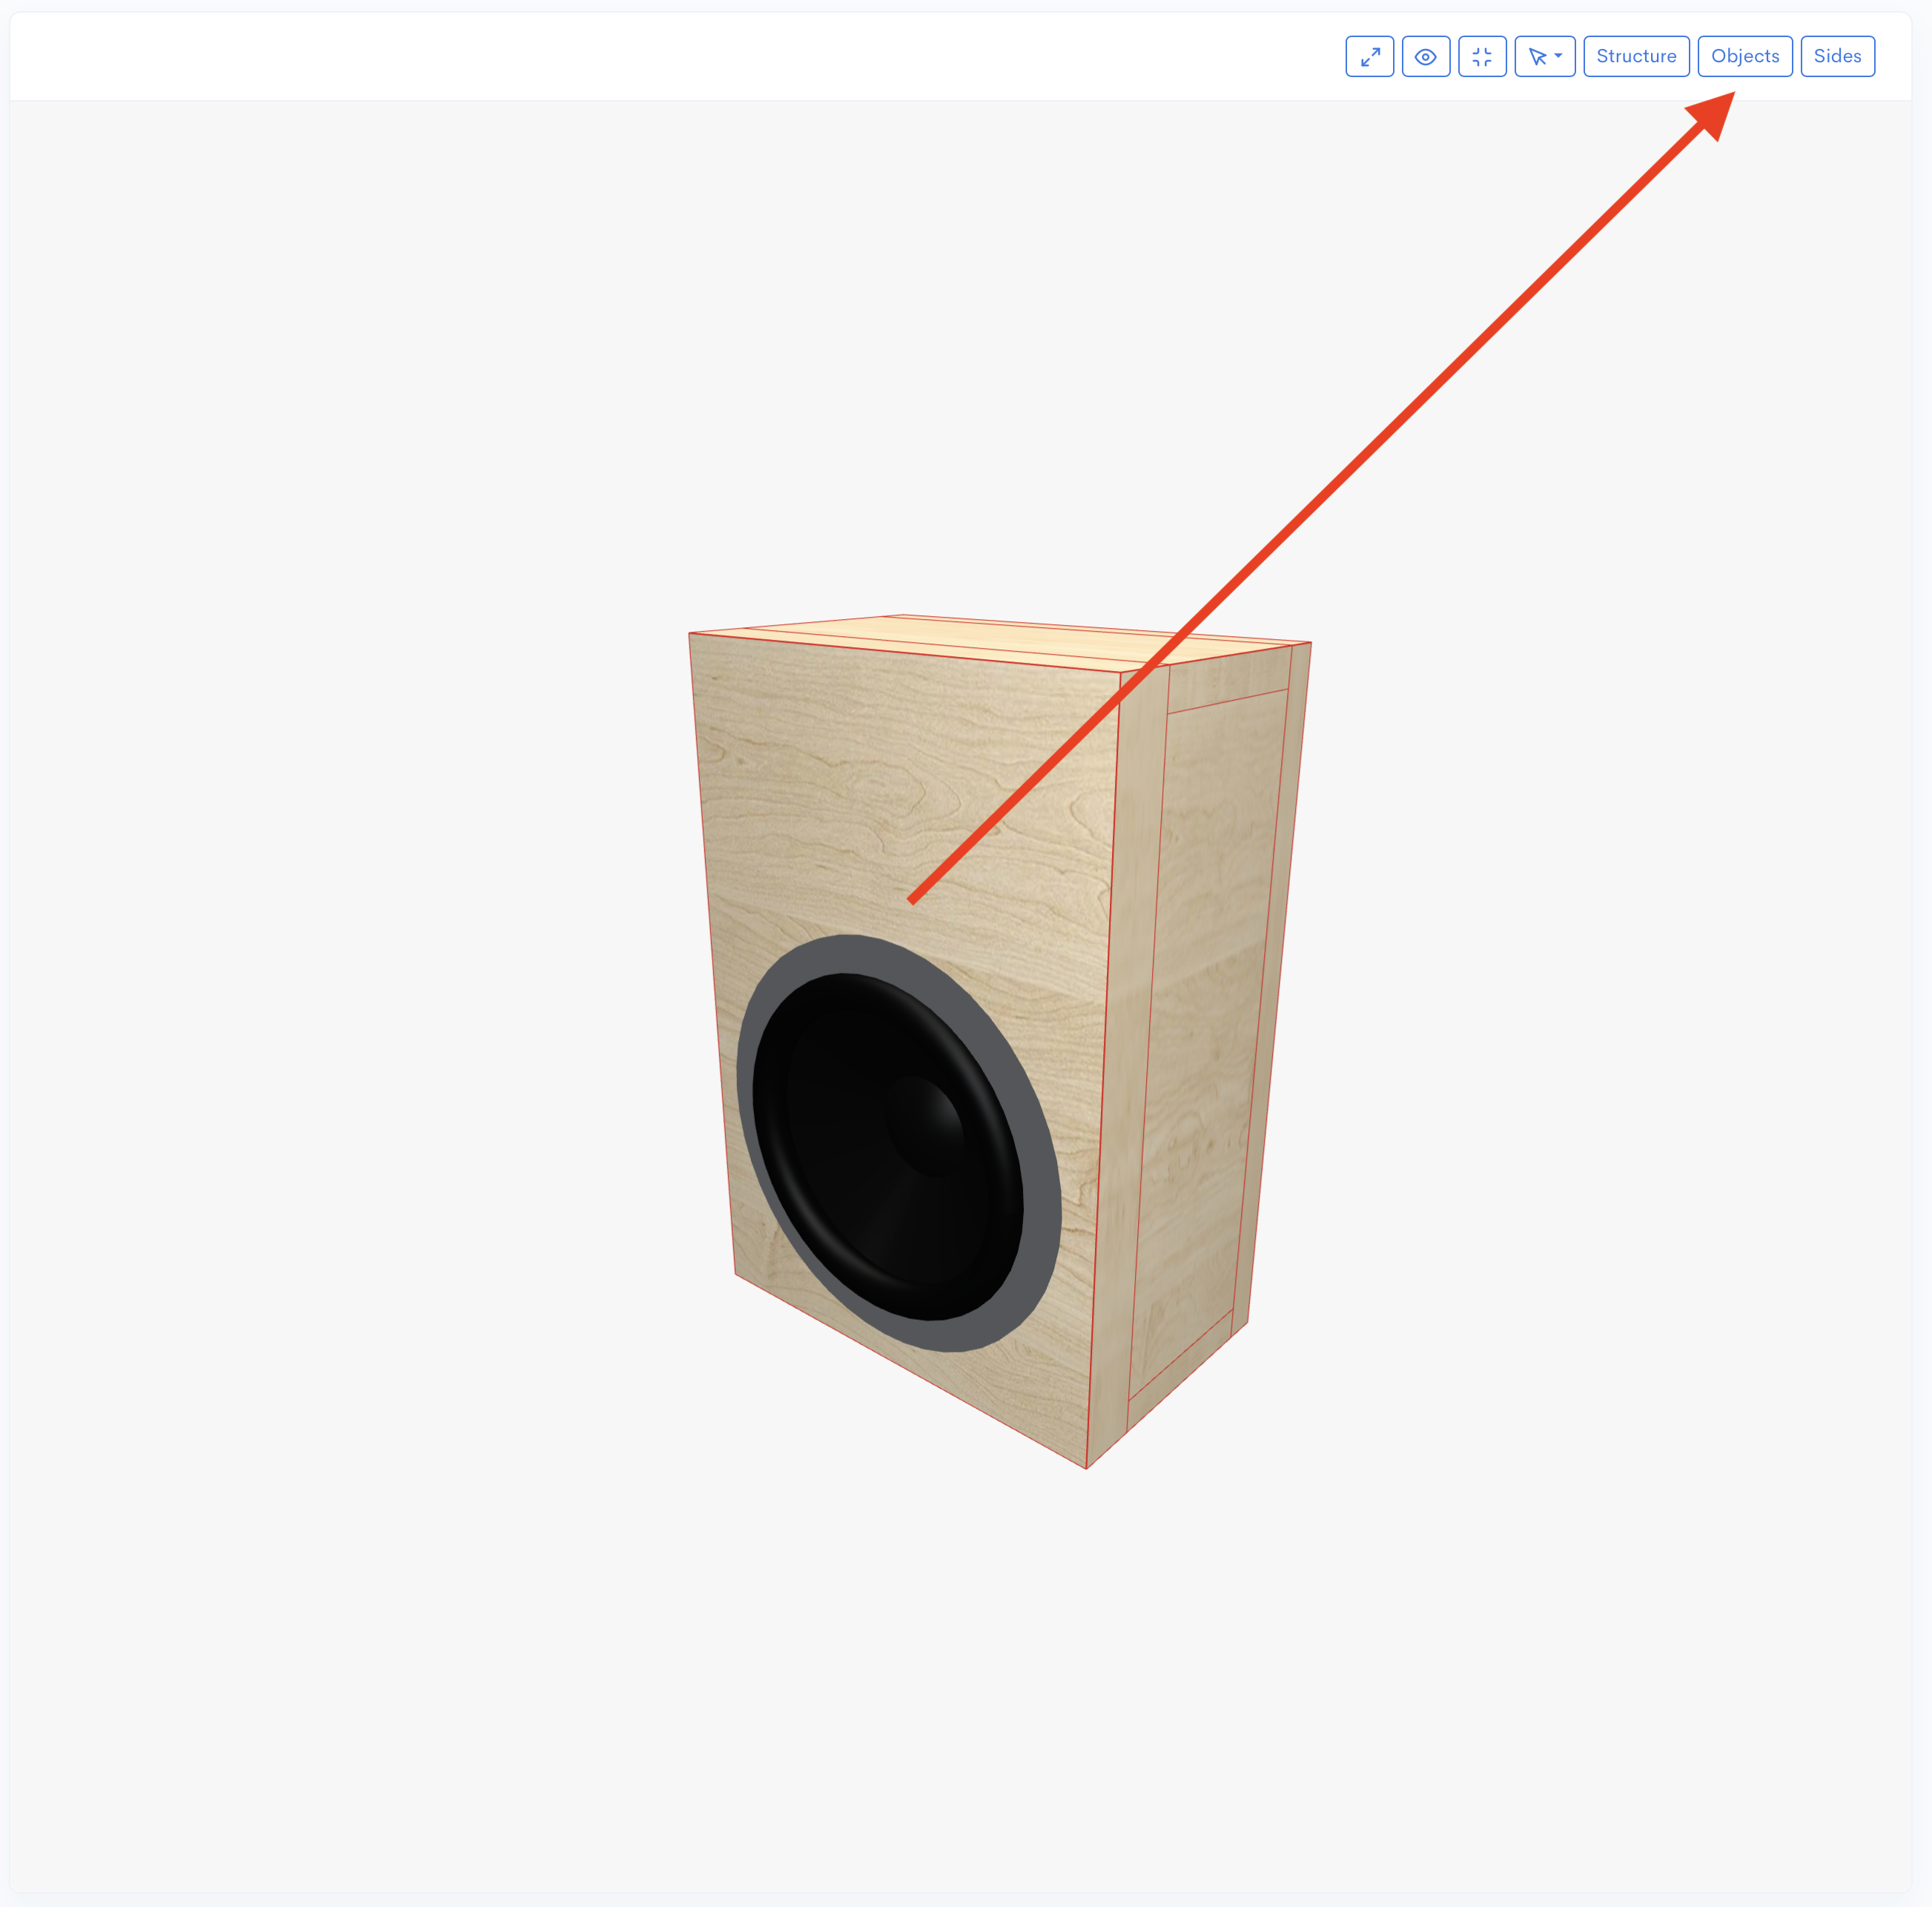
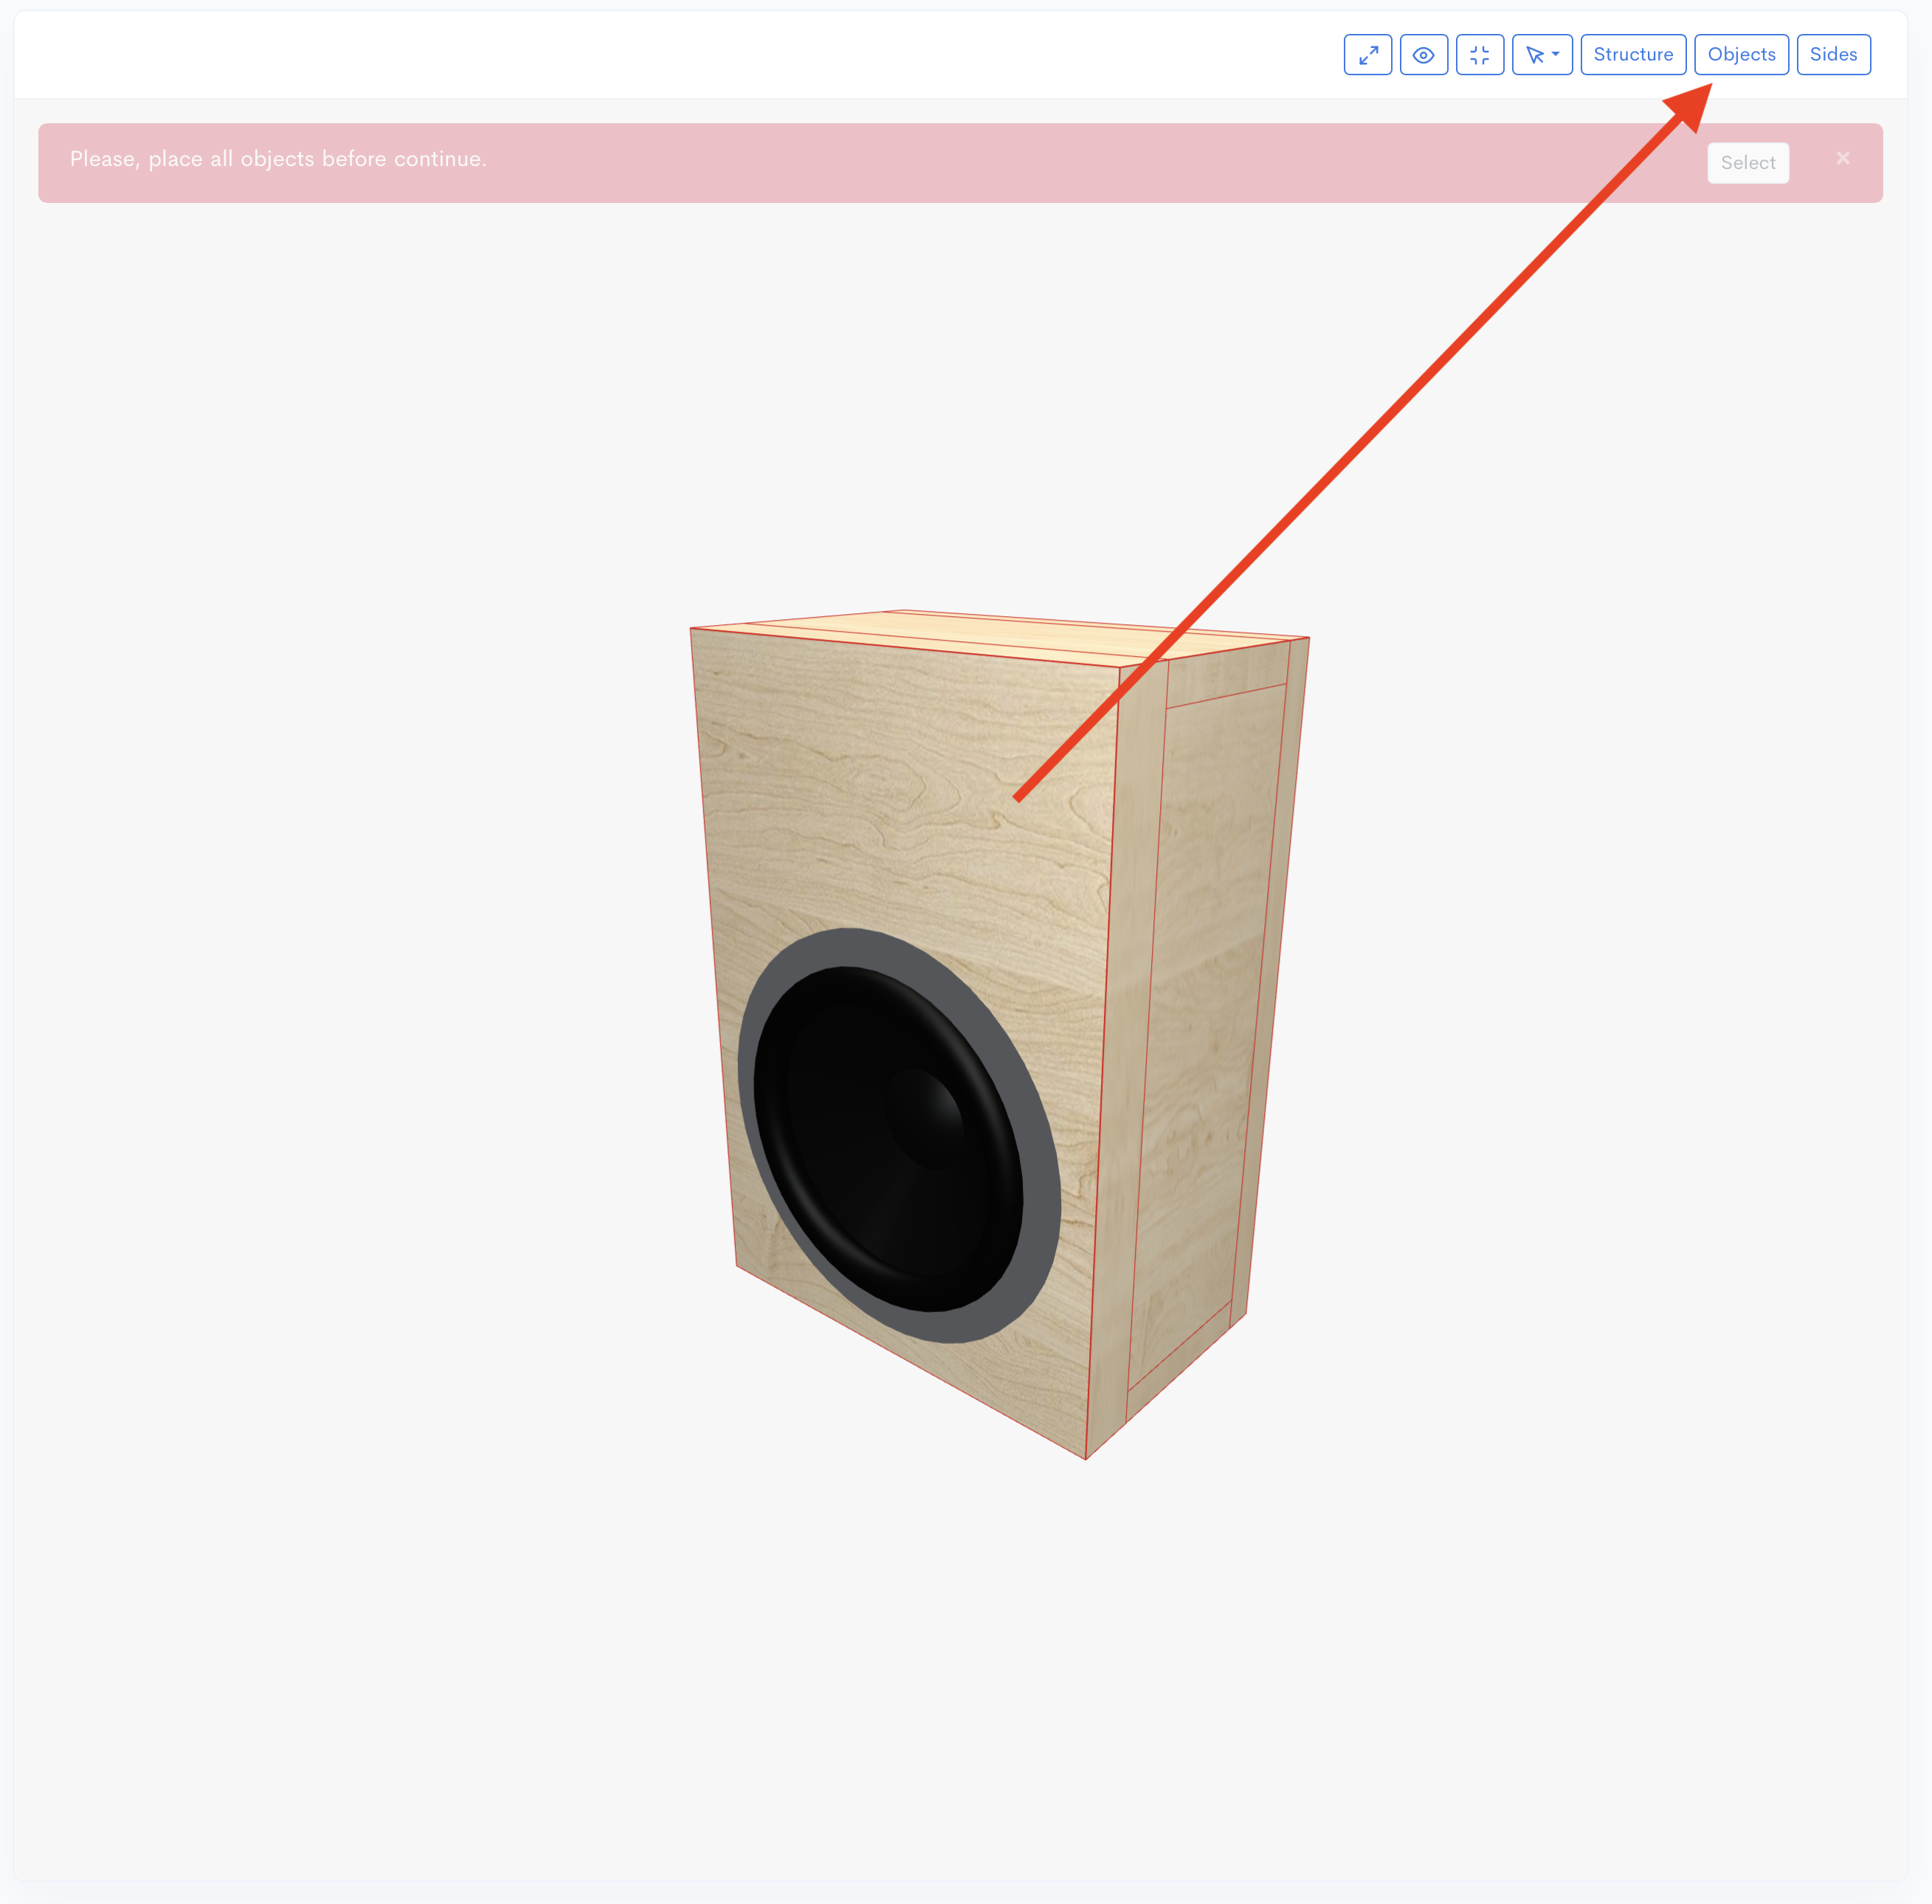
The tweeter in Speaker Box Lite is self-enclosed and doesn't require its own box. To mount it, you must first integrate it into the chamber of the main speaker box.
Integrate the Tweeter Enclosure:
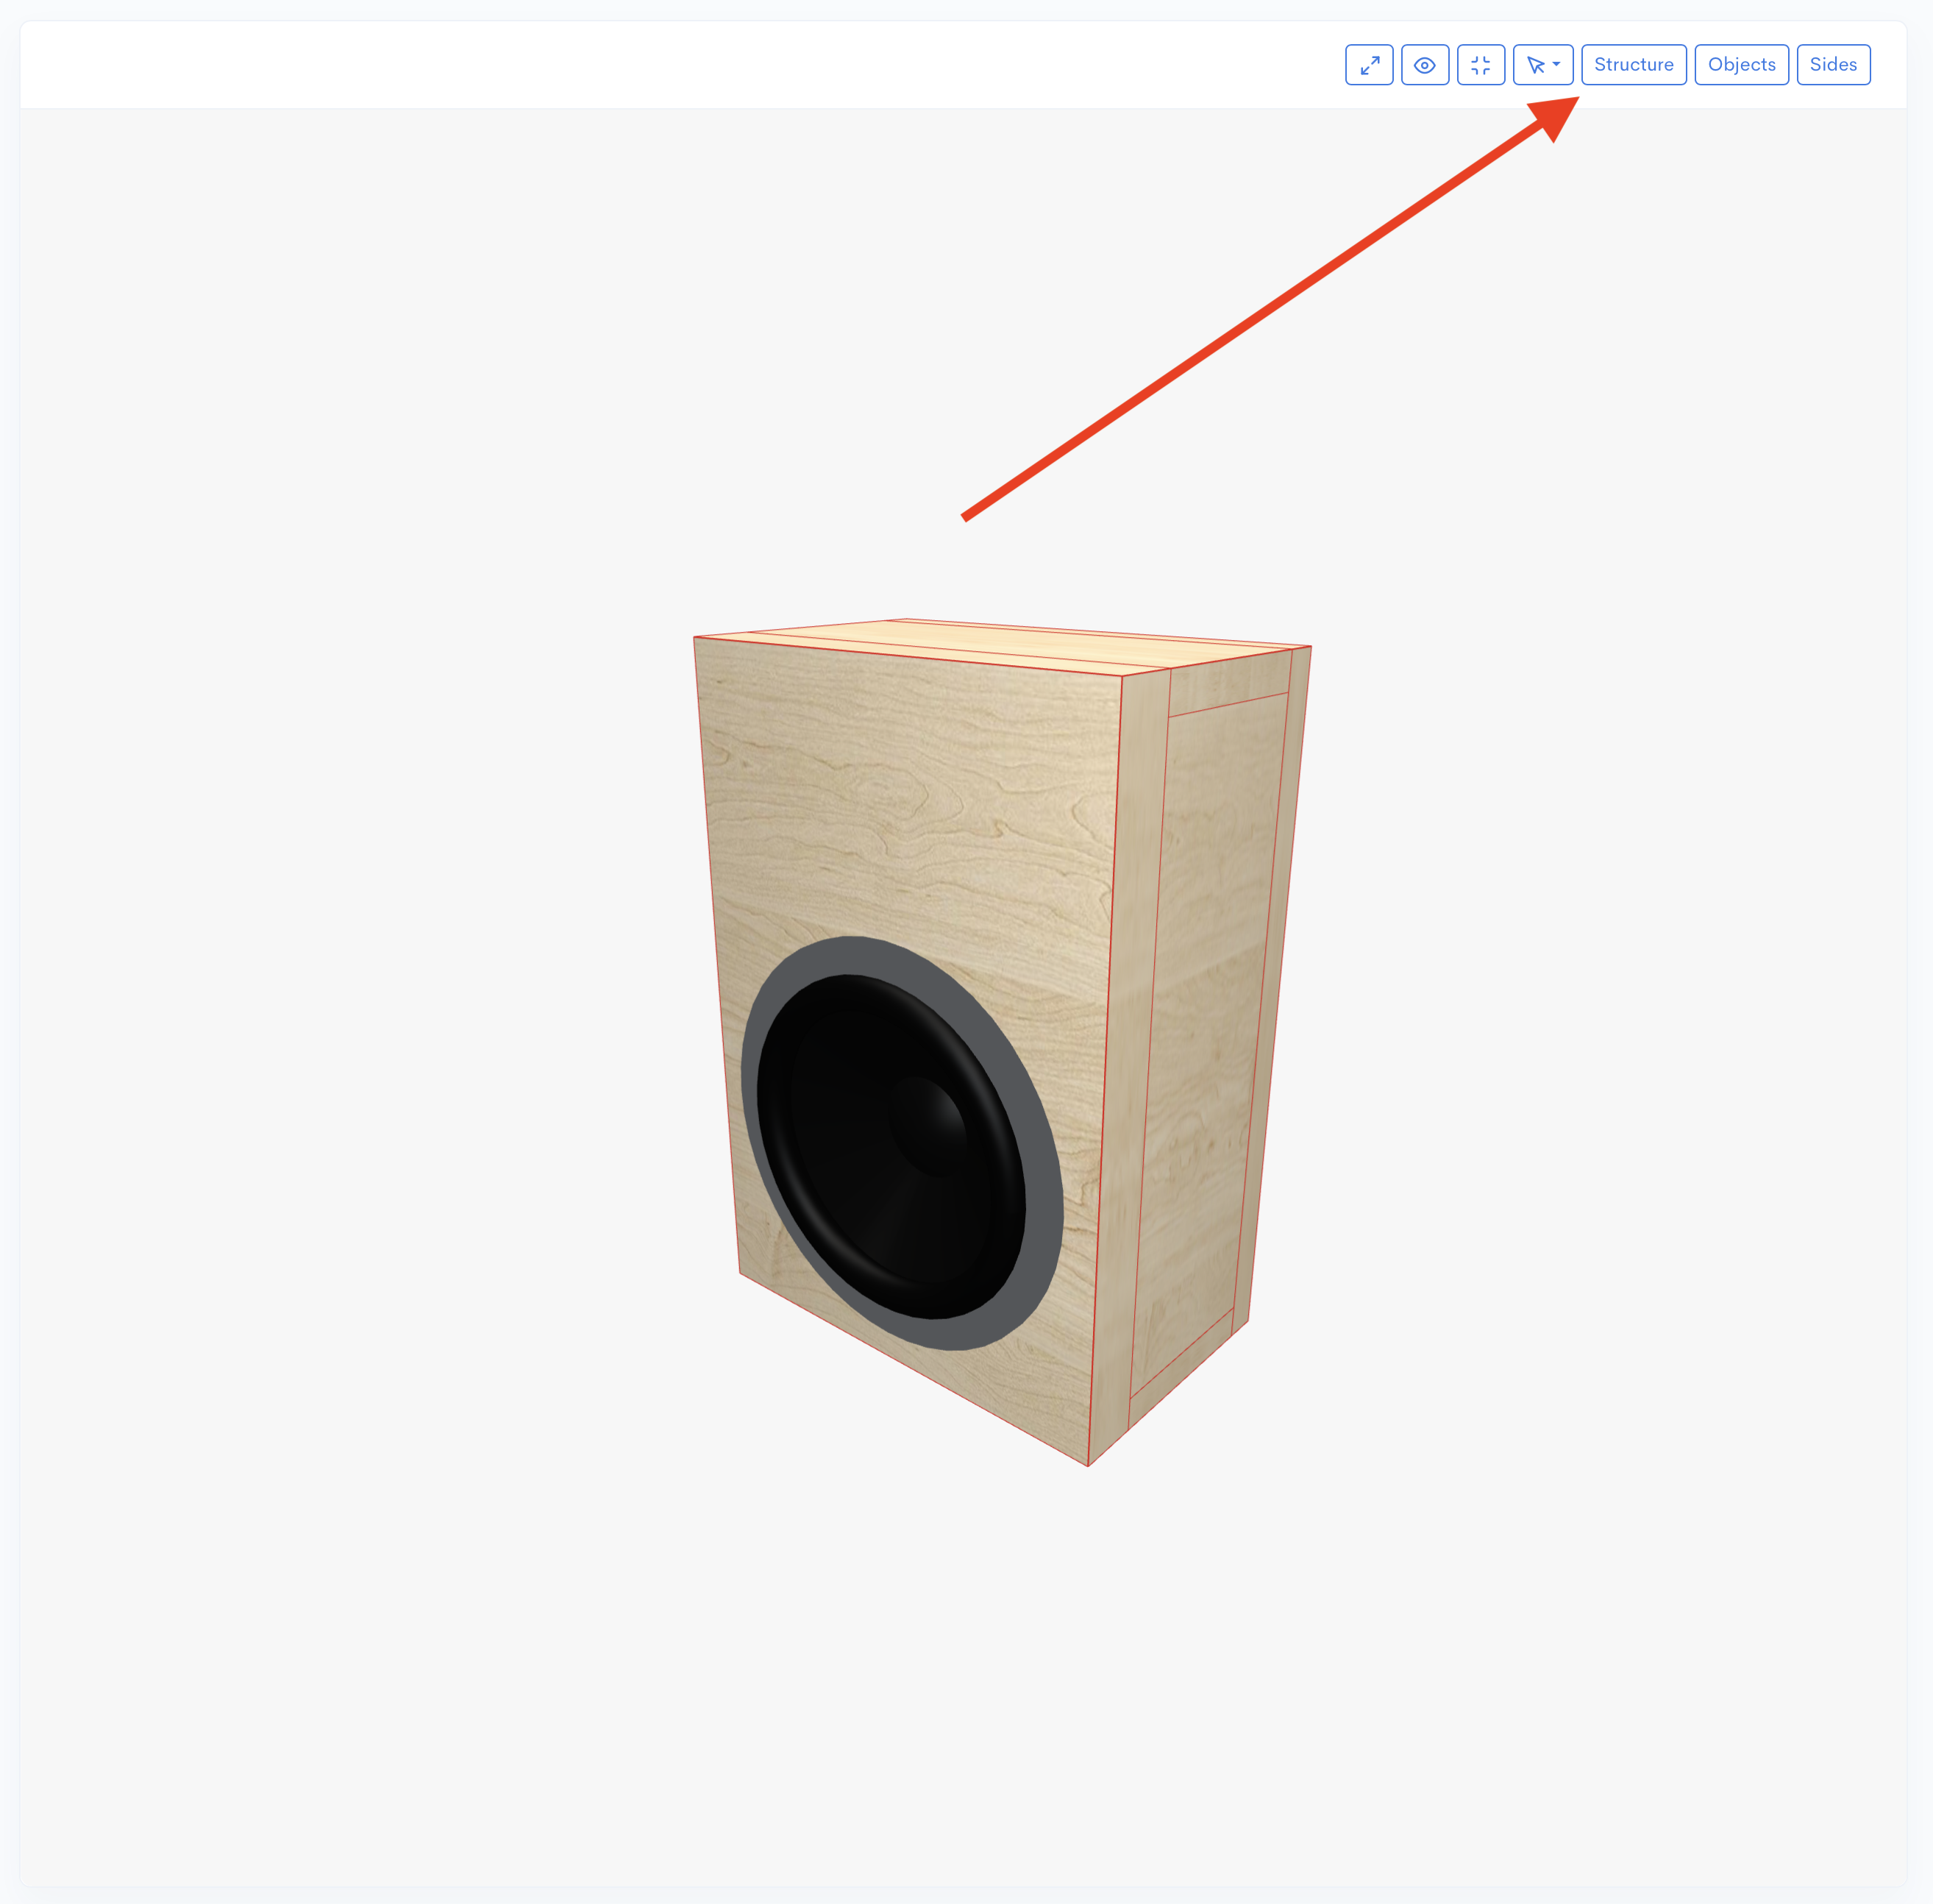
Mount the Tweeter on a Face:
You are almost finished! After mounting the tweeter, you might need to align it on the baffle (in my situation, I aligned it with the main speaker). To do this, click on the tweeter within the 3D box. Wait a moment until the tweeter changes into a blue disk. Once it's a blue disk, move it to the desired position and then release.
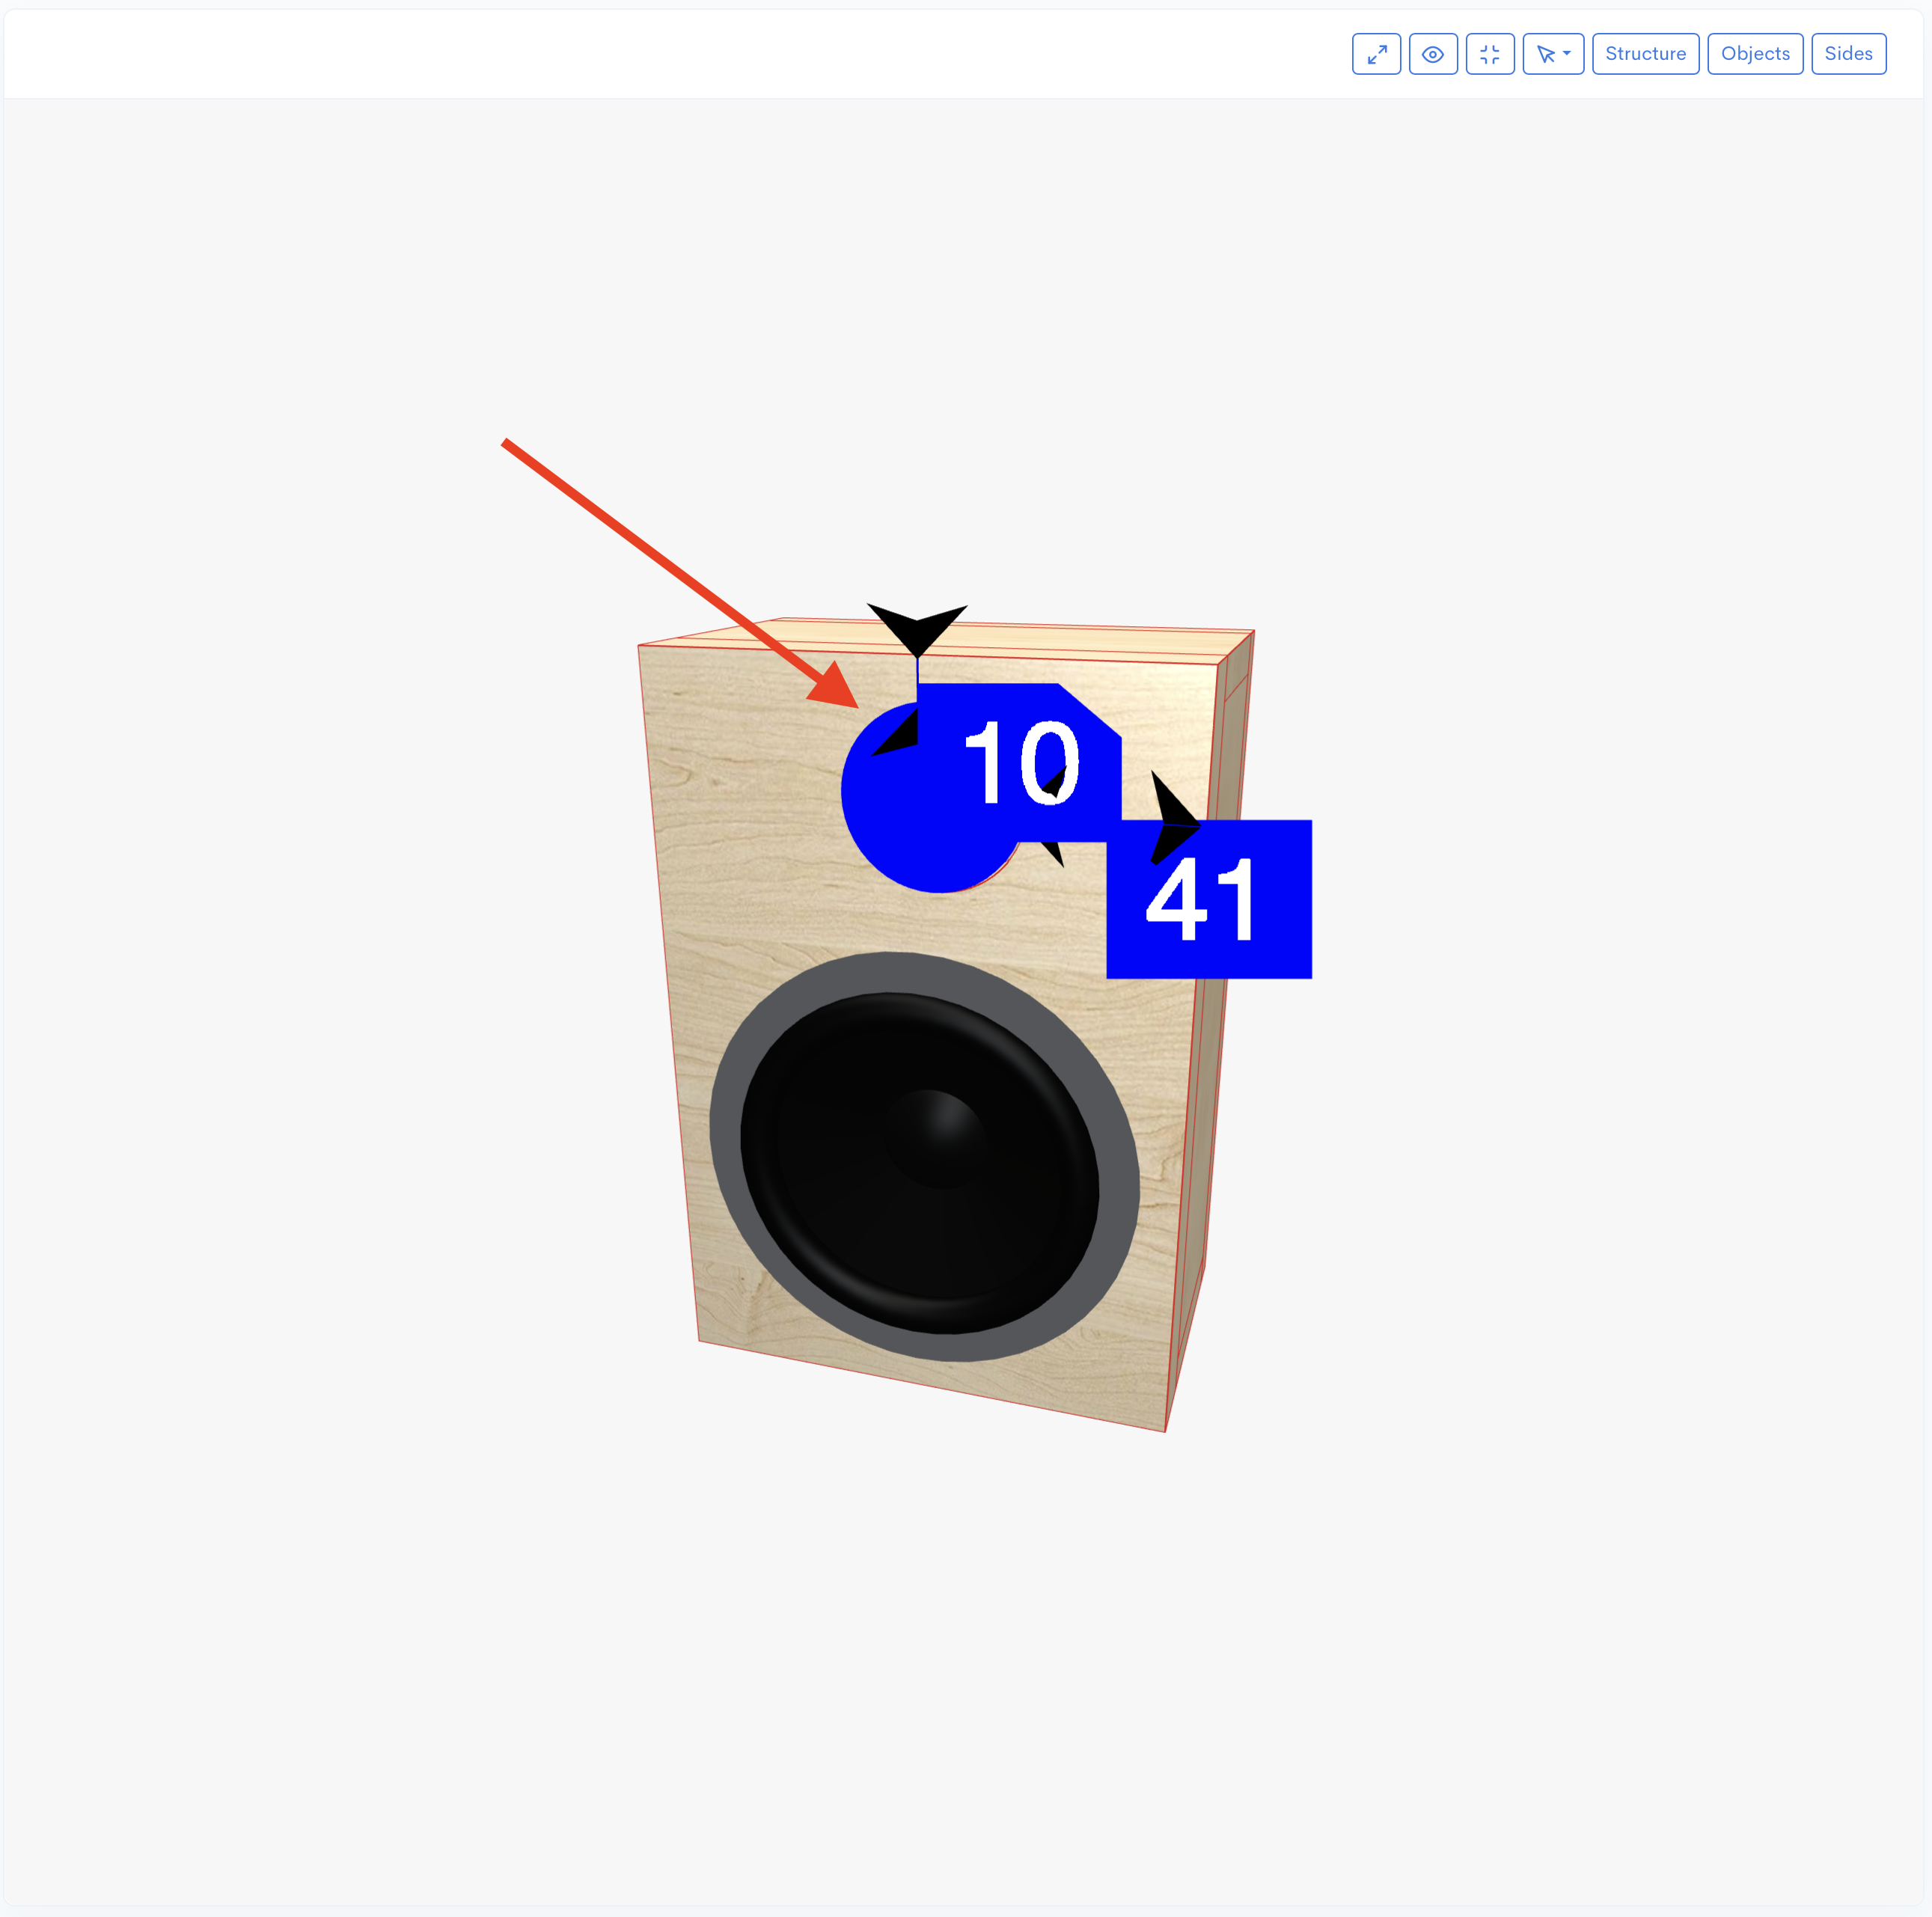
With that, your tweeter is successfully mounted to the box.

In this article, you’ve learned the step-by-step process for successfully mounting a tweeter into your speaker enclosure. This crucial addition can dramatically enhance the clarity and richness of your audio system, ensuring a more vibrant and detailed sound experience. Properly integrating a tweeter is key to achieving optimal high-frequency performance. Should you require precise, pre-designed speaker box plans or a lighter, more cost-effective solution for your project, remember to explore the resources available through the Speaker Box Lite service. This can simplify your build and help you create the perfect custom audio setup.