Changing Box Dimensions in Speaker Box Lite: Understanding Foundations, Boundaries, and Volume Modes

Learn how to change box dimensions in Speaker Box Lite, explore how the foundation figure defines the box shape, and understand the difference between Lock VB and free-dimension modes. A deep dive into practical design steps and technical background.

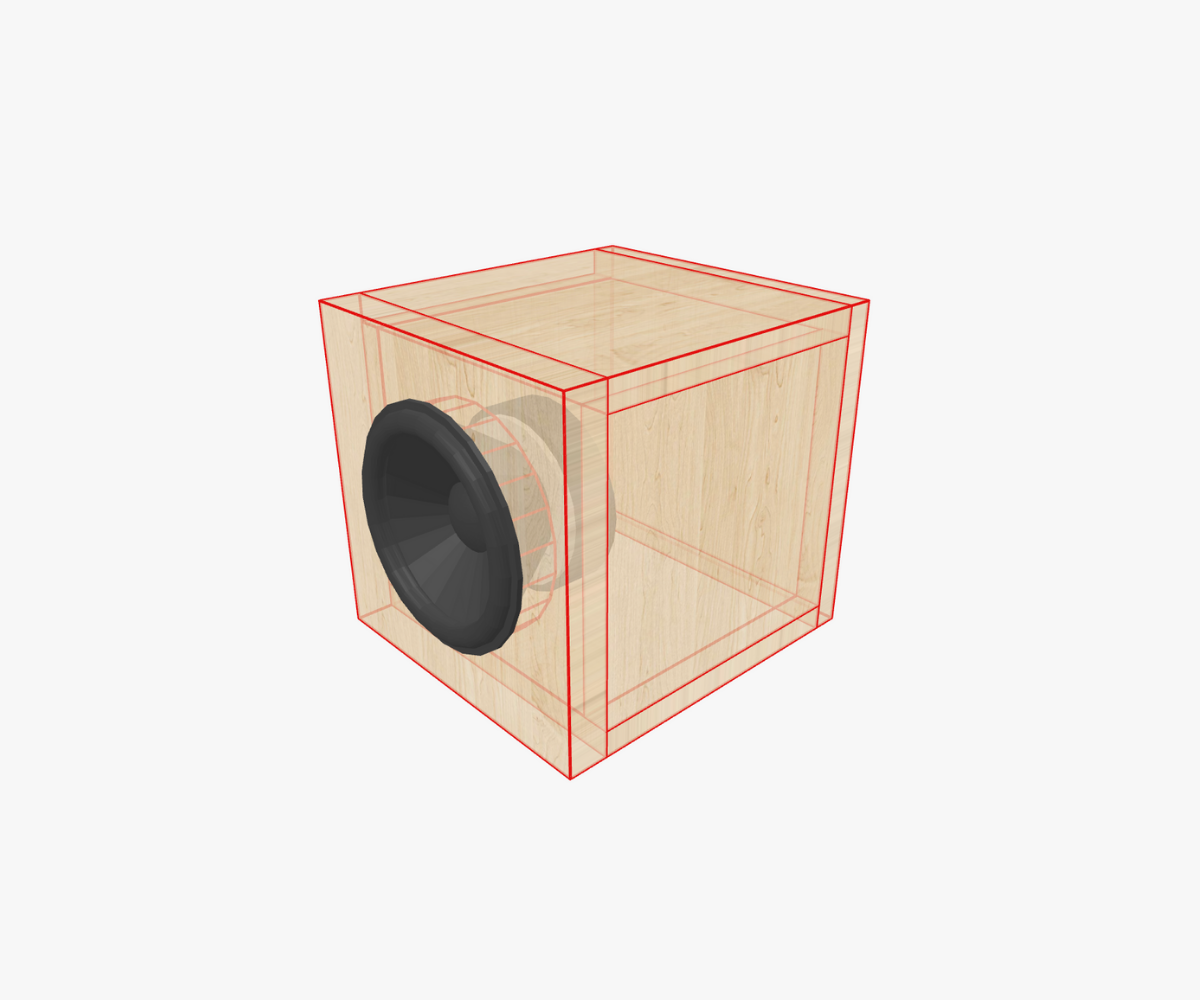
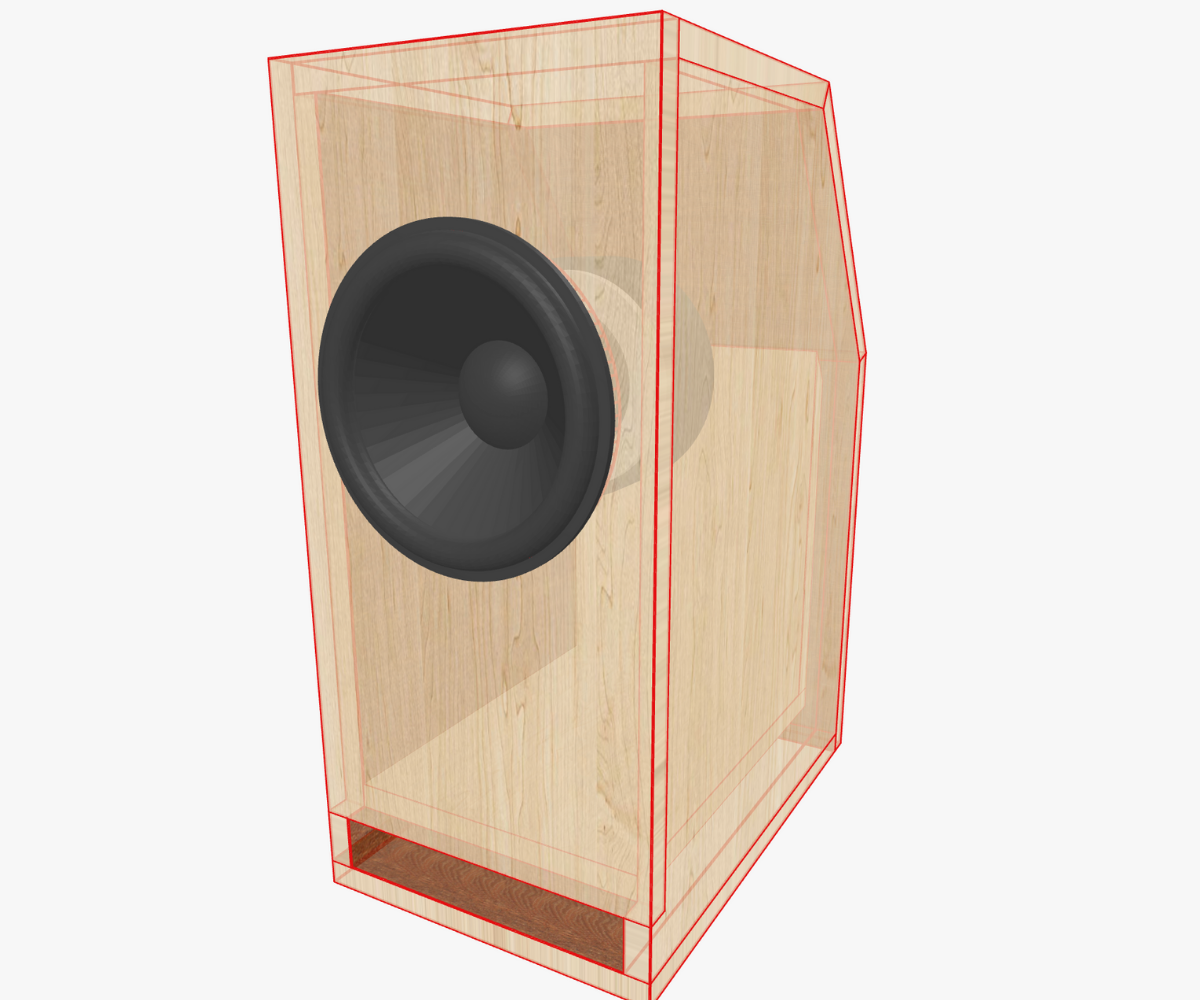
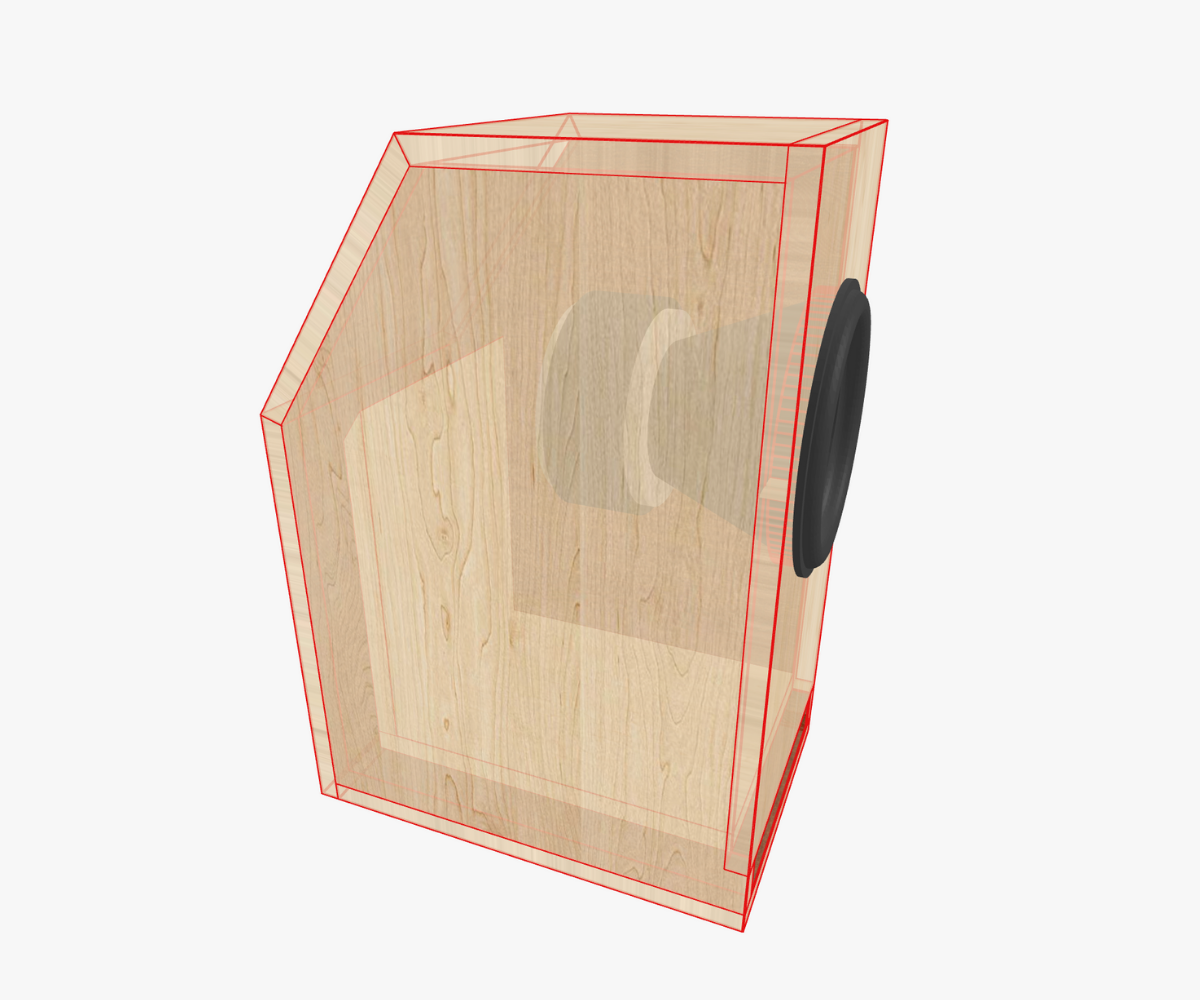
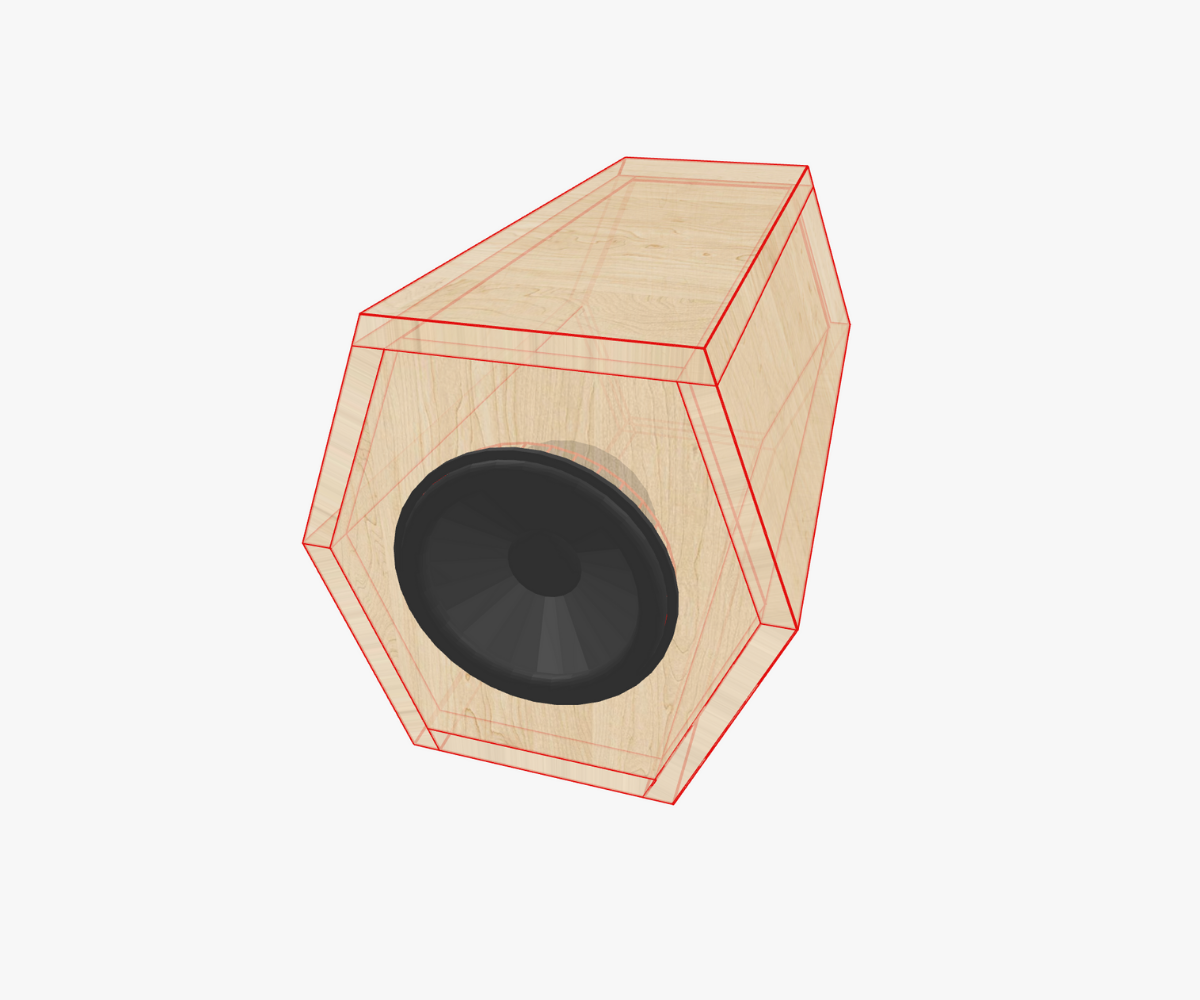
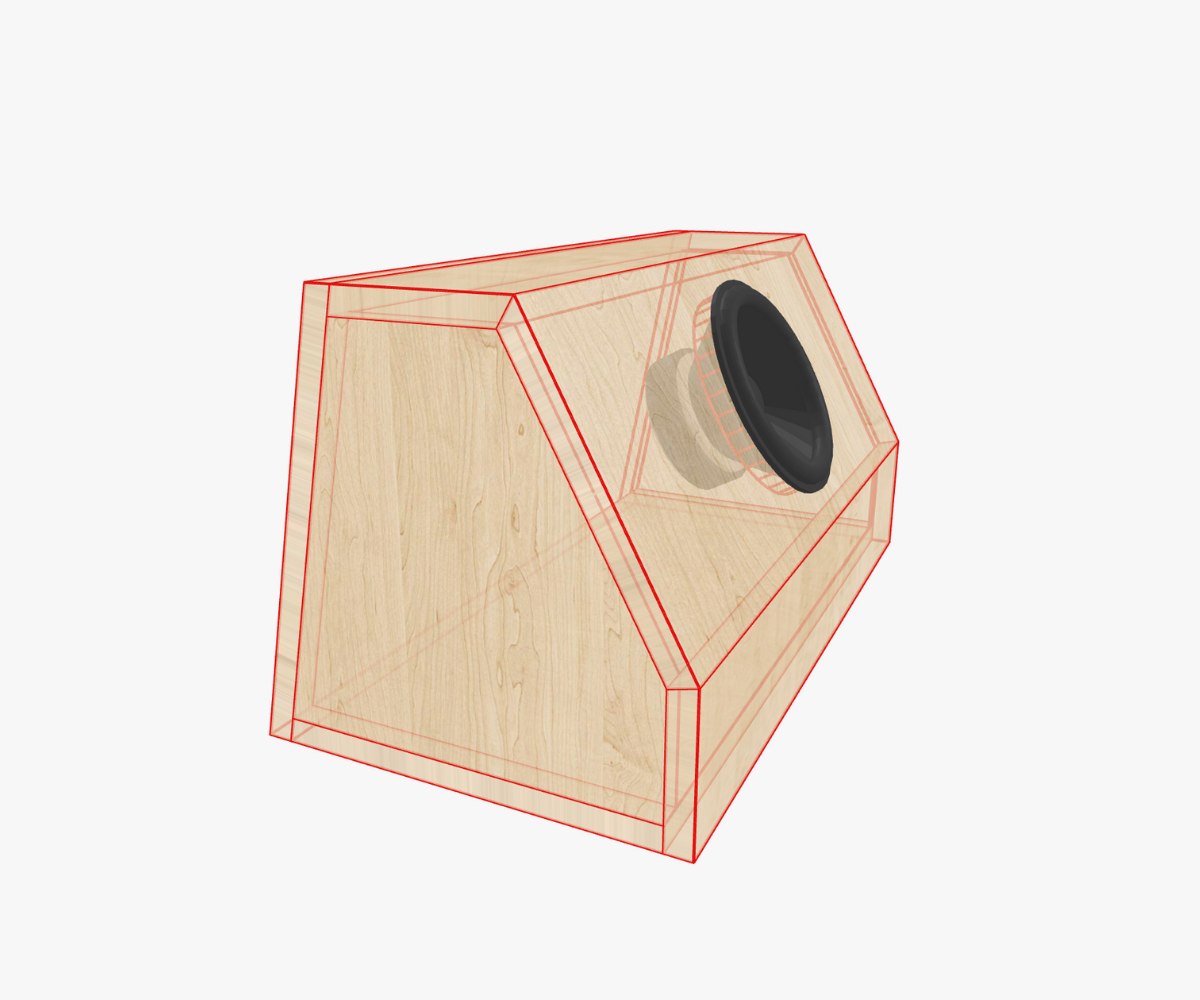
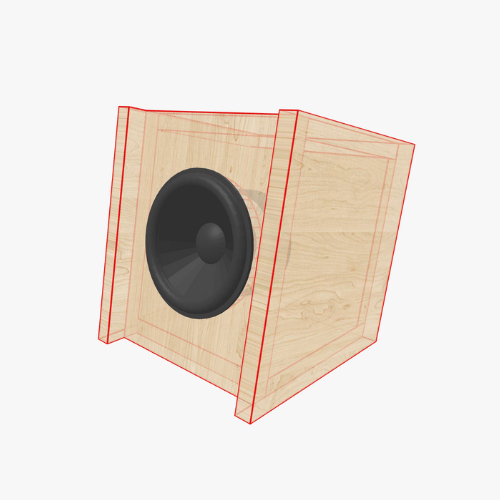
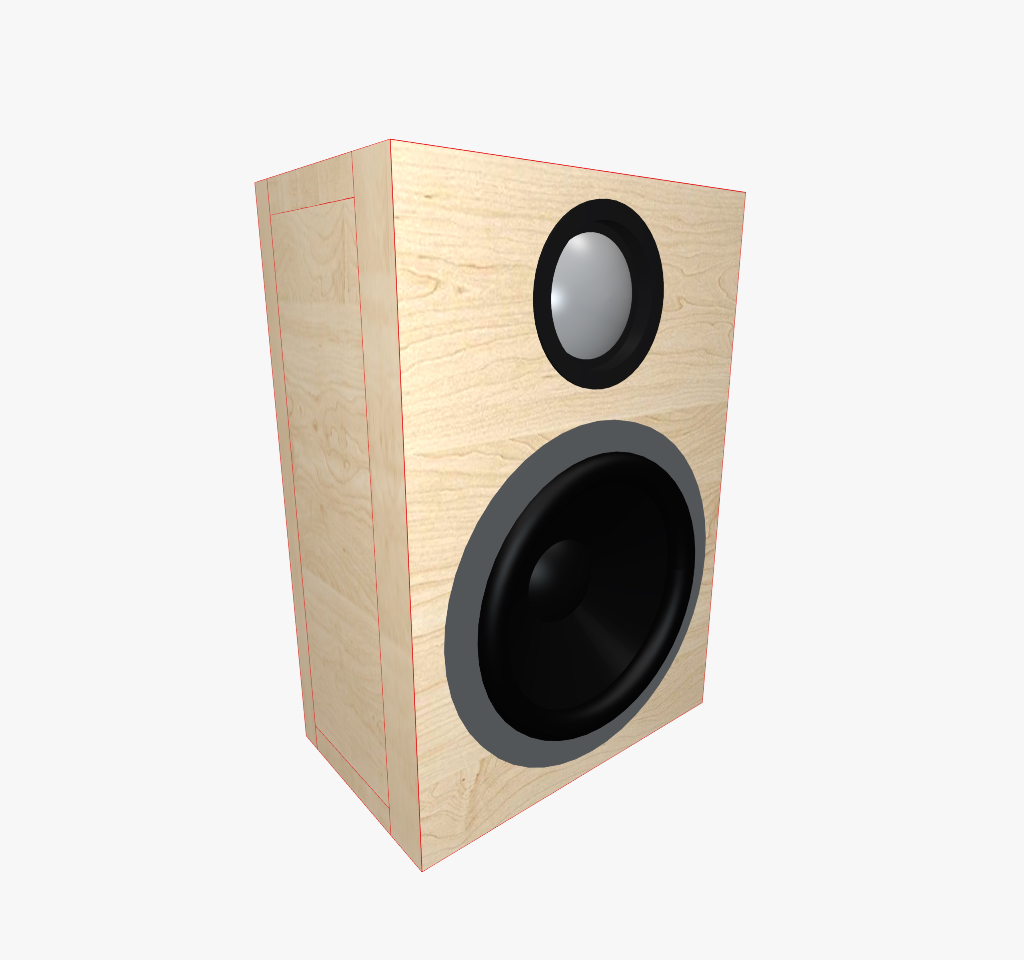
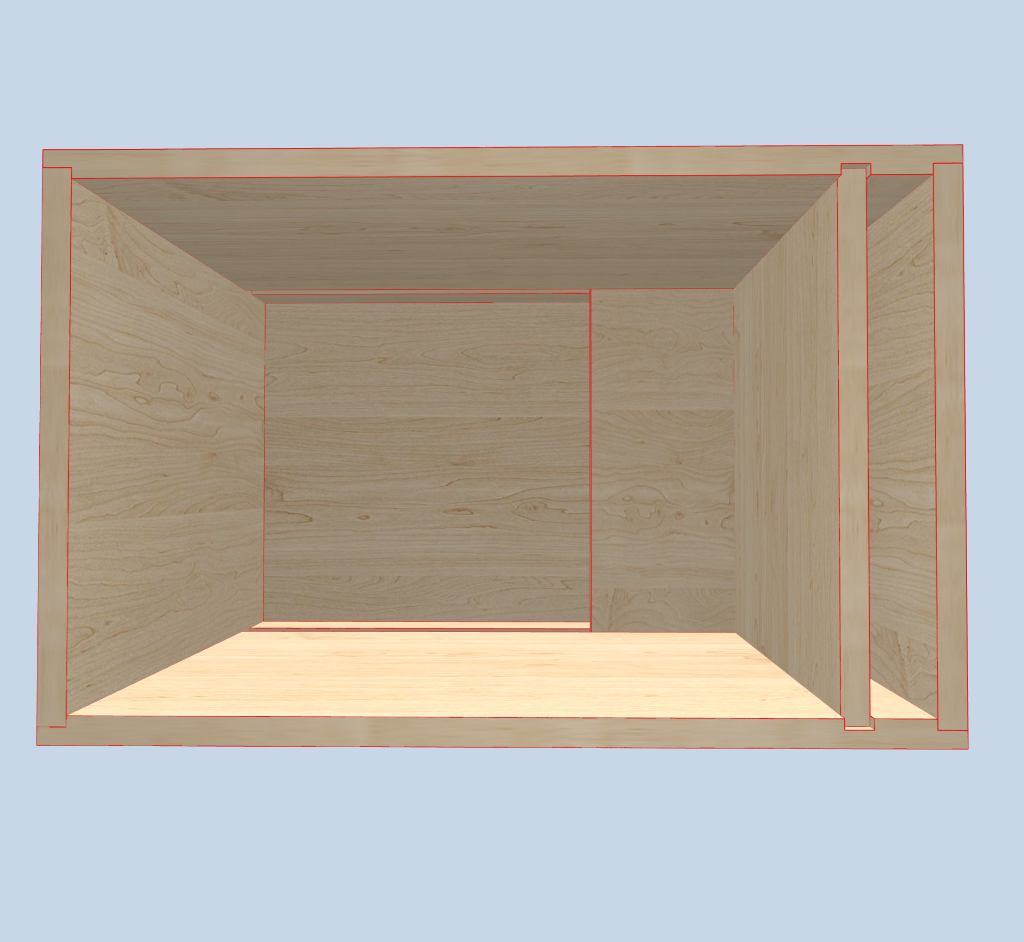
The Core of Box Design: Why Dimensions Matter

Every loudspeaker enclosure starts with three physical constraints: width, height, and length. These may look like just numbers in a properties window, but in practice they dictate far more than the raw geometry of your box. The chosen dimensions shape the internal volume, define the available surface area for drivers and ports, and ultimately decide how your loudspeaker integrates into a listening room, a car trunk, or a studio setup.

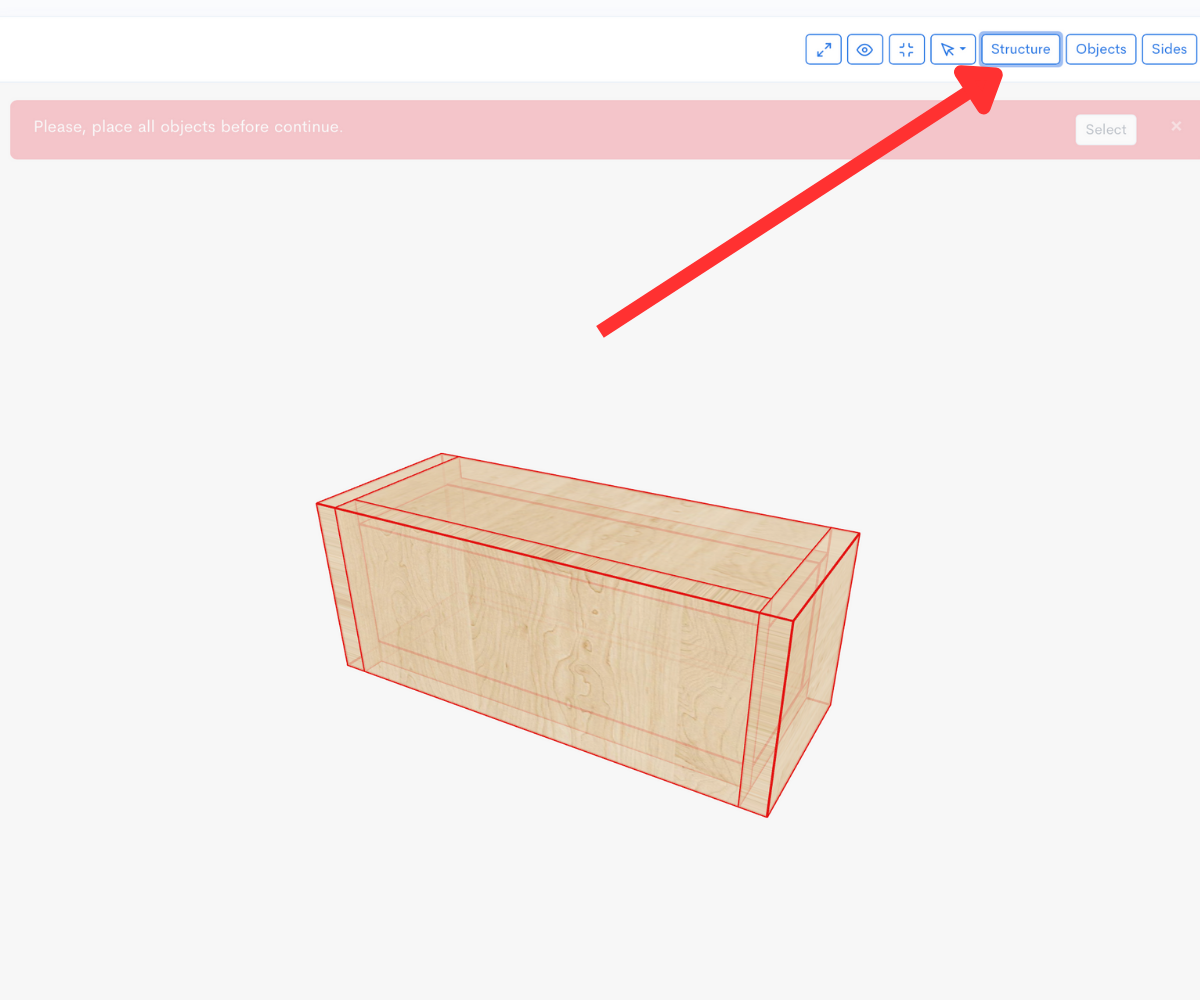
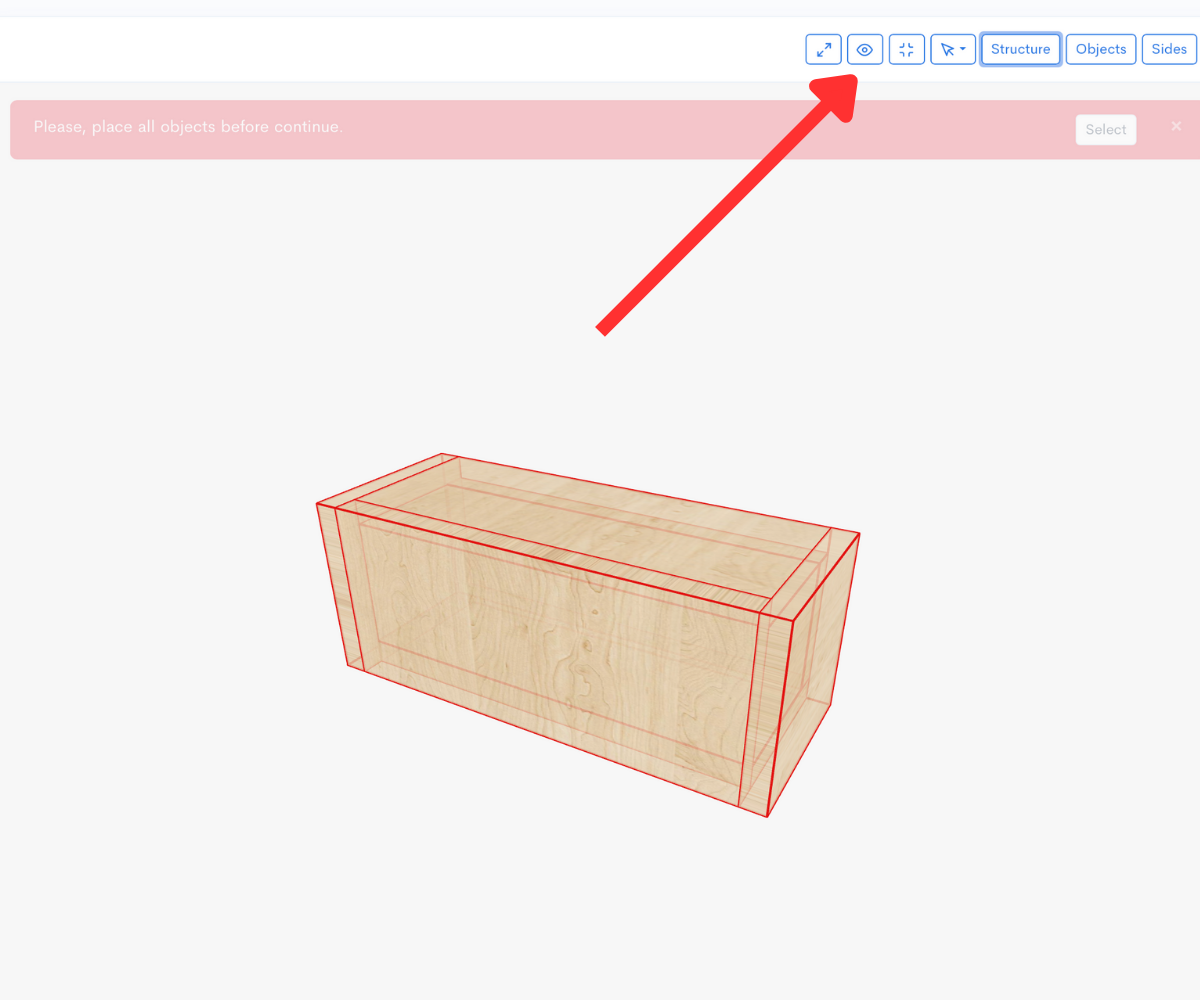
Traditionally, designers split this task between two different tools — one program to calculate enclosure parameters, and a separate CAD package to model the physical box. The drawback is clear: if you later decide to correct the volume or alter the geometry, you must restart the entire process almost from scratch. Speaker Box Lite eliminates this disconnect. Both the acoustic math and the 3D geometry live in the same environment, so when you make adjustments the redesign flows automatically, saving enormous amounts of time and frustration.

In Speaker Box Lite, dimensions are not simply entered values; they are part of a structured system. This system gives you freedom to either fix the acoustic volume (Lock VB) and let the software recalculate geometry, or to manually define every side of the enclosure, watching how the program evaluates the usable volume. Understanding this workflow is essential if you want your design to be both acoustically correct and physically practical.


Box Foundations: The 2D Figure Behind Every Shape

At the heart of every box in Speaker Box Lite lies the foundation figure. Think of it as a blueprint drawn on a plane, which the application then extrudes into three dimensions.

  • Simple Quad foundation results in a straightforward rectangular box.
  • One-Side Trapezoid tilts one wall, often used in car subwoofers to better fit into slanted trunk spaces.
  • Two-Side Trapezoid provides symmetry, useful in cabinets where reflections and standing waves must be minimized.
  • Wedge or Double Wedge shape is chosen when you want the box to follow the natural angle of a wall or to provide a more compact footprint without losing internal volume.


Example of a simple rectangular foundation box, serving as the basic shape for a speaker enclosure.
Example of a wedge foundation box, often used to fit speakers into tight spaces while maintaining proper acoustic volume.
Example of a hexagon foundation box, offering a non-standard shape for creative speaker enclosure designs.
Example of an inclined wedge foundation box, designed with a slanted angle that helps optimize speaker placement and acoustic projection.
Example of a shifted foundation box, where the base is displaced to create an asymmetrical shape for unique enclosure designs.

These are only a handful of the many foundations available. Each foundation is essentially a 2D figure in the YZ plane(height and length) that becomes three-dimensional when extruded along the X axis (width). What defines one foundation from another are the additional shifts and offsets applied to certain points of this figure. For example, in a trapezoid you specify how much the top or bottom wall shifts relative to the base, while in a wedge it is the shift of one side that matters.

The foundation is not just a cosmetic option. It is the structural rule set that tells the program how the box will occupy real space. The choice of shape directly affects how the driver can be mounted, how ports are positioned, and whether the box fits the physical constraints of the intended installation.


Bound Boxes: Defining the Outer Frame

Once you select a foundation, Speaker Box Lite doesn’t just create a floating shape. Instead, it places the extrusion inside a bound box, defined by width, height, and length.

The bound box is like a mold. The software fits the chosen foundation into this mold, stretching and shifting where necessary to make sure the extrusion respects the given dimensions. This ensures you can decide:

  • “My box must not exceed 40 cm in depth because it sits under a desk.”
  • “The width is locked at 60 cm because that is the available trunk space between wheel arches.”
  • “The height must remain under 30 cm to fit beneath a shelf.”

By entering these boundary dimensions, you essentially carve out the maximum allowed space for your enclosure. Speaker Box Lite then interprets how the foundation should fill that space while still preserving its proportions and rules.


Foundation-Specific Dimensions: Beyond Width, Height, Length

While every box needs width, height, and length, foundations introduce their own additional dimensional parameters.

For a trapezoid, this could be offsets such as DW0, DW1, and so on — essentially describing how much the walls deviate from the bound box. For wedges, the shift of one side is required. These variables make the foundation more than a static figure; they turn it into a flexible 2D plan that can be tuned to match both functional and aesthetic goals.

This layered approach means two designers could enter the same bound box values but choose different foundation figures — and the final enclosures would be dramatically different in geometry and usability.


Lock VB vs. Free Dimensions: Two Modes of Calculation

One of the most powerful aspects of Speaker Box Lite is the choice between two fundamental modes:

  1. Lock VB (Lock Volume of Box)
  2. Free Dimension Mode (Lock VB Off)


Lock VB Mode

When Lock VB is active, the software protects the internal useful volume of your enclosure. This means if you change one dimension (say, the height), another dimension (for example, the width) will automatically adjust to keep the same volume intact.

This is crucial when you are designing to a target volume based on Thiele-Small parameters of your driver. Perhaps you know your subwoofer requires 28 liters for a Butterworth alignment. With Lock VB on, you can resize the box physically to fit your available space — and the program will safeguard those 28 liters, recalculating the geometry as needed.

The Calculated Dimension setting lets you choose which axis (width, height, or length) should be automatically adjusted. By default, it is width, but you can switch it depending on which constraint in your design is least critical.


Free Dimension Mode

When Lock VB is turned off, you must explicitly define all three major dimensions: width, height, and length. Speaker Box Lite then calculates the resulting internal volume and substitutes it into the Vb field on the Enclosure tab. In multi-chamber enclosures, the program substitutes the calculated volumes of all chambers. That’s why it’s important not to stop at the numbers alone — always redraw the plots and analyze them to verify the acoustic performance of your design.

This mode is practical when you are restricted by physical space first and volume second. For example, a designer working on a bookshelf speaker may have a fixed cabinet size dictated by aesthetics or furniture dimensions. Here, it is more important to see what useful volume results from the chosen geometry, rather than to enforce a predetermined Vb.


How to Change Box Dimensions

Once the conceptual framework is understood — foundation, bound box, Lock VB, and free dimensions — the actual act of changing box dimensions becomes straightforward. There are two principal workflows in Speaker Box Lite: through the Box Properties Window and directly in the 3D Visualization.


Changing Dimensions in the Properties Window

The Box Properties Window is the central hub for editing your enclosure. To access it, open the Structure screen and click on the box you want to modify.


Demonstrates the way you can access the Box properties screen to adjust enclosure settings.
This is your current foundation shape. Click on Change to select a different one.
The list of foundations available for building the box shape.
Block where you can switch the LockVb mode and change the calculated dimension.
Block where you can enter the box dimensions. Since our calculated dimension is Width, this field is hidden from the list.

At the top of the properties window, you will see the box shape selector, where you can switch foundation figures. Below this lies the Lock VB toggle and the Calculated Dimension selector. Further down, you will encounter the Dimensions section.

Here you can input:

  • Material thickness – a critical parameter, as thicker walls reduce usable internal volume.
  • Width, height, length – unless the axis is hidden because it is currently chosen as the Calculated Dimension.
  • Foundation-specific offsets (DW0, DW1, etc.), depending on the selected shape.

Once values are entered, pressing Save applies the changes and updates the 3D model and calculated parameters.


Changing Dimensions in 3D Visualization

For those who prefer a more visual workflow, Speaker Box Lite offers the option to modify dimensions directly in the 3D visualization.


Demonstrates the way you can turn on the Box bounds option to visualize the enclosure’s outer limits.
Now you can click on any of these labels to change the size of the box.
In the appeared modal, you can change the box size or select the calculated dimension.
In this modal, the calculated dimension is fixed to this value, and you cannot change it manually.

First, enable the Box Bounds option in the Visualization screen. This activates a visible bounding frame around your enclosure, complete with labeled arrows showing the current sizes.

By clicking on any of these labels, you open a Dimension modal screen. Here you can directly type in the new size or even change which dimension is treated as the Calculated Dimension when Lock VB mode is active.

This approach provides instant feedback, letting you see how adjustments affect the overall geometry in real time. It’s especially useful when working on complex shapes, as you can visually confirm whether the modified foundation still fits your intended installation space.


Practical Implications of Dimension Control

Understanding how dimensions interact in Speaker Box Lite is not just about software proficiency; it’s about real-world acoustic design.

  • A sealed box shrinks below optimal volume? Expect tighter bass but reduced extension.
  • A trapezoid shape reduces standing waves but may complicate port alignment.
  • Thicker walls improve rigidity but eat into usable liters — making Lock VB indispensable for preserving acoustic intent.

By mastering these dimension controls, you move beyond trial-and-error and into deliberate, predictable design.


The Designer’s Workflow: From Idea to Precision

The workflow generally unfolds as follows:

  1. Select a foundation that fits your physical and acoustic requirements.
  2. Define the bound box to match installation constraints.
  3. Decide whether to Lock VB (target volume) or leave it free (target geometry).
  4. Enter base dimensions and offsets in the properties window.
  5. Fine-tune visually in the 3D environment, using the Box Bounds tool for immediate feedback.
  6. Review the calculated volume on the Enclosure tab — ensuring it aligns with your driver’s needs.

At every step, the advantage of Speaker Box Lite becomes obvious. In the old workflow, if you discovered later that you needed a different Vb or to change the slope of a wall, you would have to re-run enclosure calculations in one program and redraw the box in another. Here, the redesign happens by itself. Modify a parameter, and the software instantly recalculates volumes, updates geometry, and redraws plots, giving you immediate acoustic feedback. This integration is what makes the process not just precise, but also dramatically more convenient.


Conclusion: From Concept to Control

Changing box dimensions in Speaker Box Lite is not a matter of simply typing numbers; it is an integrated design process built around foundations, boundaries, and modes of calculation. By understanding how Lock VB protects your target volume, how free dimension mode reflects your available space, and how foundation figures shape the extrusion, you gain complete control over the design.

The two editing approaches — the structured Box Properties Window and the intuitive 3D Visualization with Box Bounds — give you flexibility to work the way you prefer.

With these tools, Speaker Box Lite transforms dimensional editing from a tedious chore into a precise instrument of design. Whether you are chasing the perfect alignment for a high-fidelity system or trying to fit a subwoofer into the tight geometry of a vehicle, you now have both the conceptual clarity and the practical workflow to achieve your goals.


Share: